Chocolate Covered Strawberry Brownies: The Valentine’s Day Dessert That Works All Year
So, Chocolate Covered Strawberry Brownies became my signature dessert completely by accident. I was trying to figure out what to bring to my sister’s baby shower, and regular brownies felt… boring? I don’t know, I wanted something that looked like I tried without actually trying that hard.
Three attempts later (and way too much money spent on strawberries), I finally cracked the code for these fudgy strawberry brownies. And honestly? Now people request them more than my actual birthday cake.
Table of Contents
How I Learned to Make Chocolate Covered Strawberry Brownies (The Hard Way)
Look, my first attempt at this strawberry brownies recipe was a complete disaster. I thought I could just bake fresh strawberries into brownie batter like you’d do with chocolate chips. Wrong. So, so wrong.
What I got was this weird, soggy mess that my husband diplomatically called “interesting texture.” The strawberries released all their juice, the brownies never set properly, and I basically made strawberry brownie soup. Not cute.
Version two, I tried making strawberry brownie bars by swirling strawberry jam into the batter. Better, but still not the chocolate strawberry brownies I was picturing in my head. Plus, my mother-in-law took one look and said “oh, you used jam” in that tone. You know the one.
Then my neighbor mentioned she’d seen these brownies topped with chocolate dipped strawberries at a bakery and paid like $8 for ONE. Eight dollars! For a brownie! That’s when the lightbulb went off—why not make fudgy brownies, top them with strawberries, THEN add the chocolate layer?
Revolutionary? Probably not. But it worked, and now I’m that person who brings “the strawberry brownies” to every potluck.
Why This Easy Chocolate Strawberry Dessert Actually Works
Here’s the thing about most chocolate strawberry brownies recipes online—they’re either ridiculously complicated or they skip the part where you need the brownies to actually be fudgy. Because let’s be real, cakey brownies are just… cake. We’re here for the fudge factor.
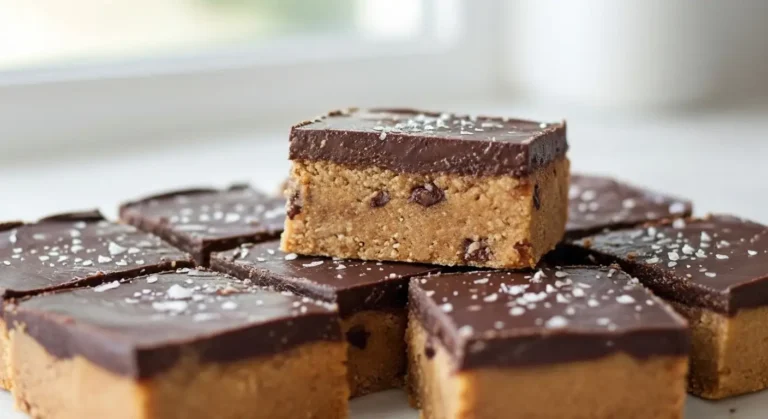
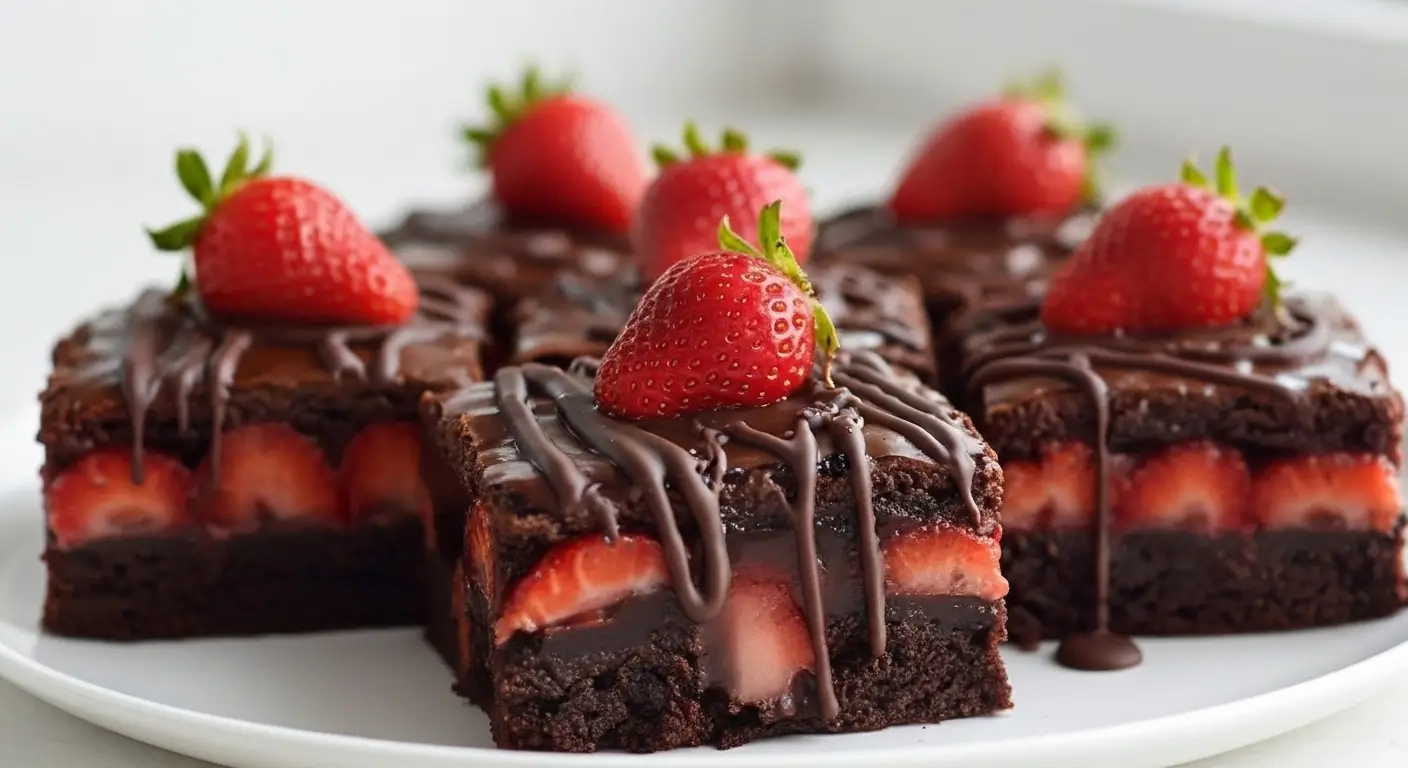
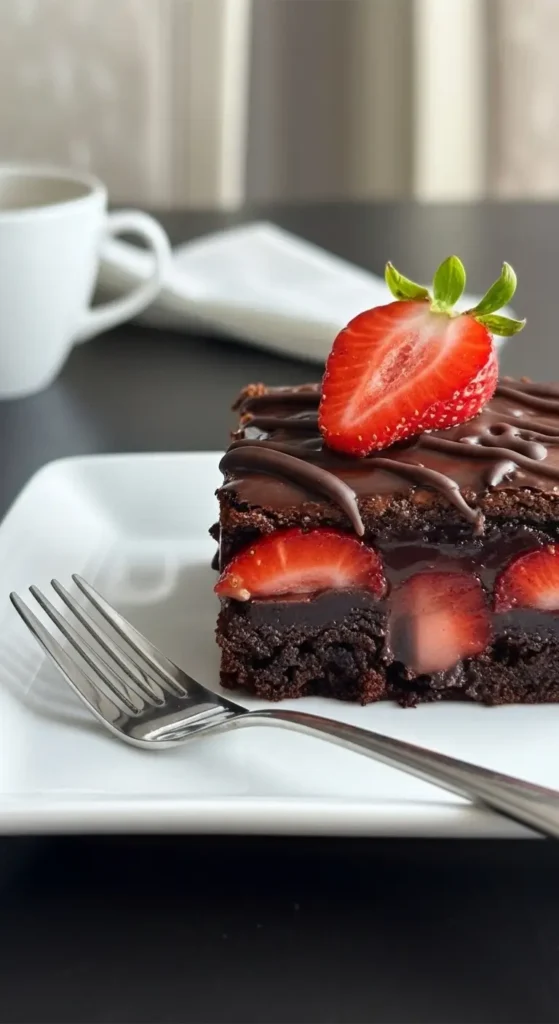
These homemade strawberry brownies hit different because you’ve got three distinct layers working together. Fudgy brownie bottom (the star of the show), fresh strawberry middle (because frozen strawberries get weird when they thaw), and a chocolate topping that’s not too thick but thick enough to matter.
And before you ask—yes, you can use a box mix for the brownies. I use Ghirardelli when I’m feeling fancy or Betty Crocker when I’m not. This isn’t the time to prove you can make brownies from scratch unless you really want to. (I’ve done both, box mix is honestly better for this recipe.)
The Best Chocolate Strawberry Brownies Start With the Right Stuff
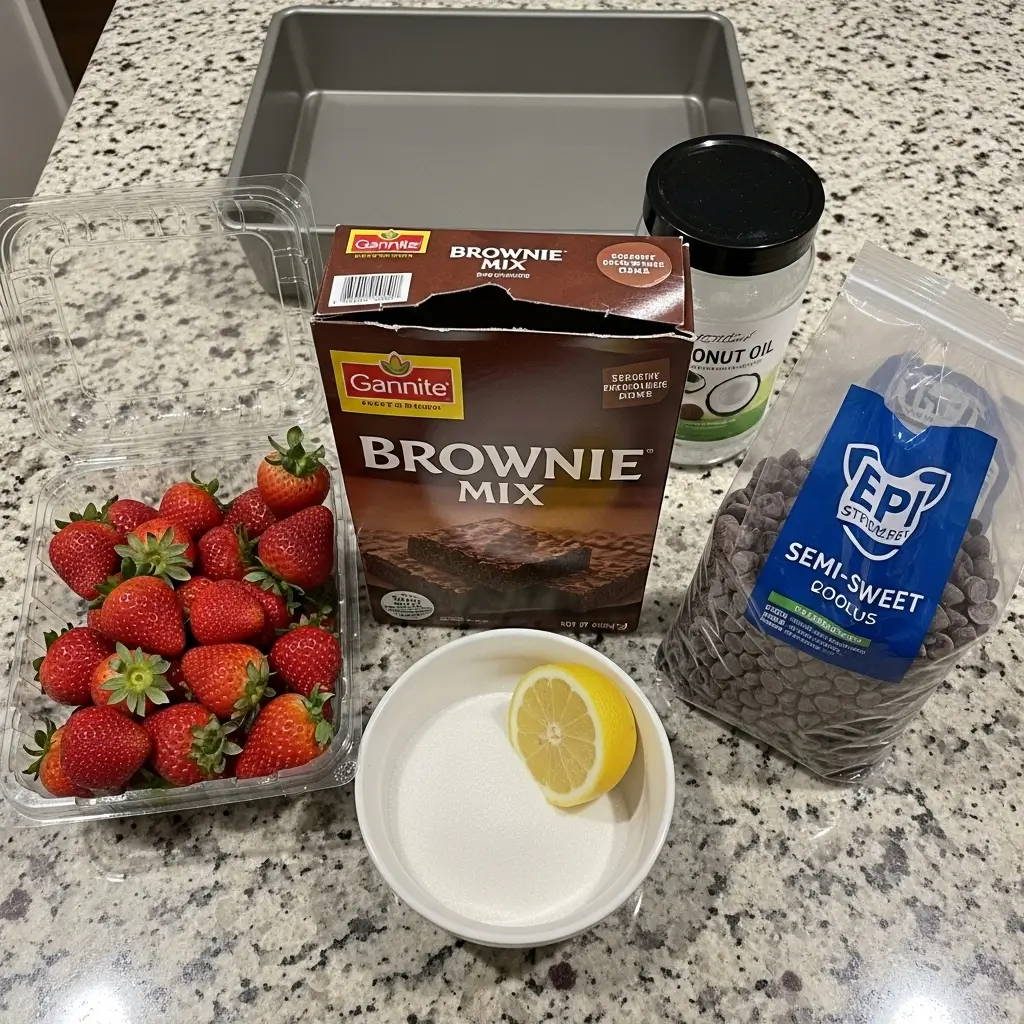
Okay, here’s what you need for these brownies with fresh strawberries. I’ve made enough batches to know exactly what works and what’s a waste of money.
For the Fudgy Brownie Base:
- 1 box fudge brownie mix (or your favorite from-scratch recipe if you’re that person)
- Whatever the box calls for (usually eggs, oil, water—don’t mess with the ratios)
- 9×13 inch baking pan
For the Strawberry Layer:
- 1.5 pounds fresh strawberries (yes, fresh—don’t even think about frozen)
- 3 tablespoons granulated sugar
- 1 tablespoon fresh lemon juice (bottled works too, no judgment)
- Pinch of salt
For the Chocolate Topping:
- 12 oz semi-sweet chocolate chips (I like Ghirardelli or Guittard)
- 3 tablespoons coconut oil (makes it smooth and shiny)
- 12-15 whole strawberries for decorating
Real talk about strawberries: Don’t buy those giant mutant strawberries at the store. They look impressive but taste like crunchy water. Go for medium-sized ones that actually smell like strawberries when you sniff them.
How to Make Chocolate Covered Strawberry Brownies (Without Losing Your Mind)
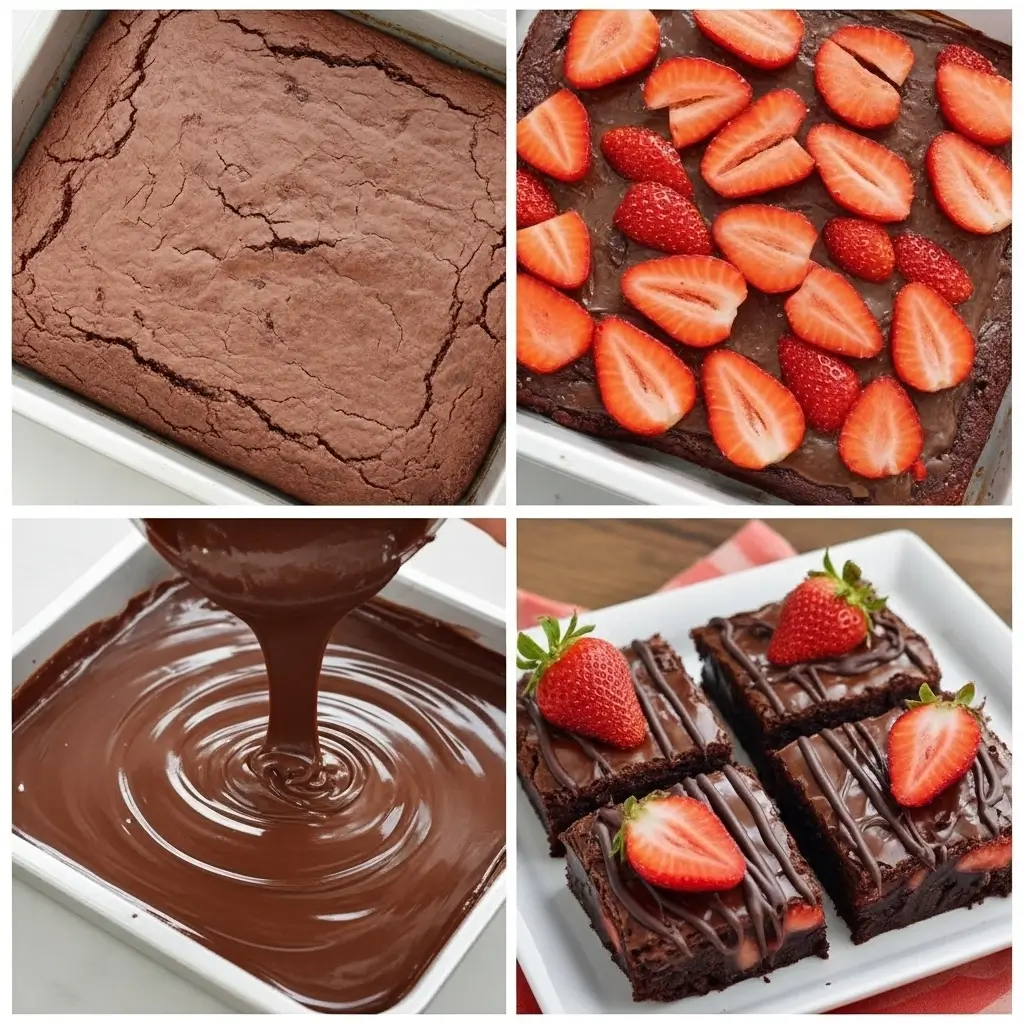
Step 1: Bake Those Brownies Preheat your oven—oh wait, I always forget this part—to whatever temperature your brownie box says. Usually 350°F.
Make the brownie batter according to package directions. Pour it into your greased 9×13 pan and bake. Set a timer. Actually set the timer this time instead of thinking you’ll remember. (I never remember.)
Let them cool COMPLETELY. And I mean stone cold. If they’re even slightly warm, your chocolate topping will melt into a puddle and you’ll be sad. Ask me how I know.
Step 2: Prep Your Strawberry Situation While the brownies are cooling (which takes forever, I know), deal with the strawberries. Wash them, remove the green tops, and slice them about 1/4 inch thick. Not too thin or they’ll be wimpy, not too thick or they won’t lay flat.
Toss the sliced strawberries with sugar, lemon juice, and that pinch of salt in a bowl. Let them hang out for 20-30 minutes. They’ll release juice—that’s supposed to happen.
Step 3: Drain Like Your Life Depends On It This is the step that makes or breaks your strawberry topping brownies. You MUST drain off that strawberry juice. I pour it into a glass and drink it because it’s delicious and I’m not wasteful, but you can toss it if you want.
Then—and this is crucial—lay the strawberry slices on paper towels and pat them dry. Like, really dry. Wet strawberries = soggy brownies. Nobody wants soggy brownies.
Step 4: Layer Those Berries Once your brownies are completely cool (seriously, wait), arrange the strawberry slices on top. I try to cover the whole surface but it doesn’t have to be perfect. Mine never looks perfect and people still eat them.
Press them down gently so they stick to the brownie layer. Not too hard or you’ll squish the brownies, just enough to make contact.
Step 5: Melt the Chocolate (Don’t Scorch It) Combine your chocolate chips and coconut oil in a microwave-safe bowl. Microwave for 30 seconds, stir. Another 30 seconds, stir. Keep doing this until it’s smooth.
Don’t get impatient and just nuke it for 2 minutes straight. That’s how you end up with seized chocolate that looks like grainy sadness. (Been there, cried about it, started over.)
Step 6: The Chocolate Drizzle (Or Pour, Whatever) Pour the melted chocolate over your strawberry layer. Use a spatula to spread it around. It won’t be perfectly smooth and that’s fine—we’re going for “homemade romantic strawberry brownie dessert” not “professional bakery.”
Some people like doing a chocolate drizzle pattern instead of covering everything. That works too and honestly looks more impressive even though it’s easier.
Step 7: Decorate Before It Sets While the chocolate is still wet, press those whole strawberries on top. I usually do them in rows because my brain needs order, but you can do whatever pattern makes you happy. Or no pattern. Chaos is valid.
Step 8: The Refrigerator Wait This is the hardest part of the whole recipe. You need to stick these easy Valentine’s Day brownies with strawberries in the fridge for at least 2 hours. Minimum. I usually do 3 to be safe.
I know waiting sucks. I usually make these the night before I need them so I’m not standing by the fridge like a weirdo, counting down the minutes.
Real Talk About These Fudgy Brownies Topped With Chocolate Covered Strawberries
Temperature matters more than you think: Room temperature brownies + melted (but not hot) chocolate = success. Any other combination and you’re playing brownie roulette.
The strawberry juice is not optional to drain: I’ve tried skipping this step thinking it wouldn’t matter that much. It matters SO much. Soggy brownies are a crime.
Cutting them cleanly: Use a big sharp knife. Wipe it off between cuts. If you want to get fancy, run the knife under hot water first. Your chocolate dipped strawberry brownies will have clean edges instead of that dragged-chocolate look.
Storage: These need to live in the refrigerator because of the fresh strawberries. They’ll keep for about 4 days, though mine have never lasted that long.
When Your Chocolate Strawberry Brownies Go Wrong
Chocolate is seizing up: You probably got water in it or overheated it. Add a tablespoon of coconut oil and stir like your life depends on it. Sometimes you can save it.
Brownies are too soft to work with: Pop the whole pan in the fridge for 30 minutes before adding strawberries. This firms them up.
Strawberries are bleeding juice everywhere: You didn’t drain them enough. Learn from this mistake and drain harder next time.
Can’t cut clean squares: Your knife isn’t sharp enough or you’re cutting while they’re too cold. Let them sit out for 10 minutes first.
Why This Romantic Strawberry Brownie Dessert Recipe Became My Thing
The first time I made these chocolate covered strawberry brownies for a party, three different people asked if I’d made them or bought them from a bakery. When I said homemade, one person literally didn’t believe me.
My teenage son, who usually acts like everything I make is embarrassing, asked if he could take some to school for his girlfriend. That’s when I knew these were special.
Even my best friend, who’s super picky about desserts, admitted these were better than the $8 ones from that fancy bakery downtown. High praise from someone who judges everything.
The Honest Truth About These Strawberry Brownie Bites (Or Bars, Whatever You Call Them)
Look, I’m not gonna pretend this is a quick recipe. Between baking, cooling, layering, and chilling, you’re looking at like 4 hours start to finish. Most of that is waiting time, but still.
They’re also not exactly health food. But you know what? Sometimes you need a dessert that makes people go “wow” and these chocolate strawberry brownies do that every single time.
Are they worth the effort? If you’re bringing them somewhere or making them for someone special, absolutely. If you just want a quick brownie fix on a Tuesday night, maybe just eat the brownies plain and call it a day.
But when you want to impress people without spending 8 dollars per brownie at a bakery? This is your recipe.
Happy baking! (May your chocolate melt smoothly and your strawberries stay fresh) 🍓