Okay, so I’m gonna be honest with you. I messed these up twice before I finally figured out what I was doing. The first time? Complete disaster. Like, the cream cheese layer just disappeared into the brownie batter and I couldn’t even see the swirl. It looked like regular brownies with an identity crisis.
But here’s the thing—I’m stubborn. And after my neighbor kept raving about some red velvet cheesecake brownies she had at a bakery that cost like $6 per piece (SIX DOLLARS!), I knew I had to crack the code. Third time’s the charm, right?
Table of Contents
Why These Red Velvet Cheesecake Brownies Are Actually Worth Making
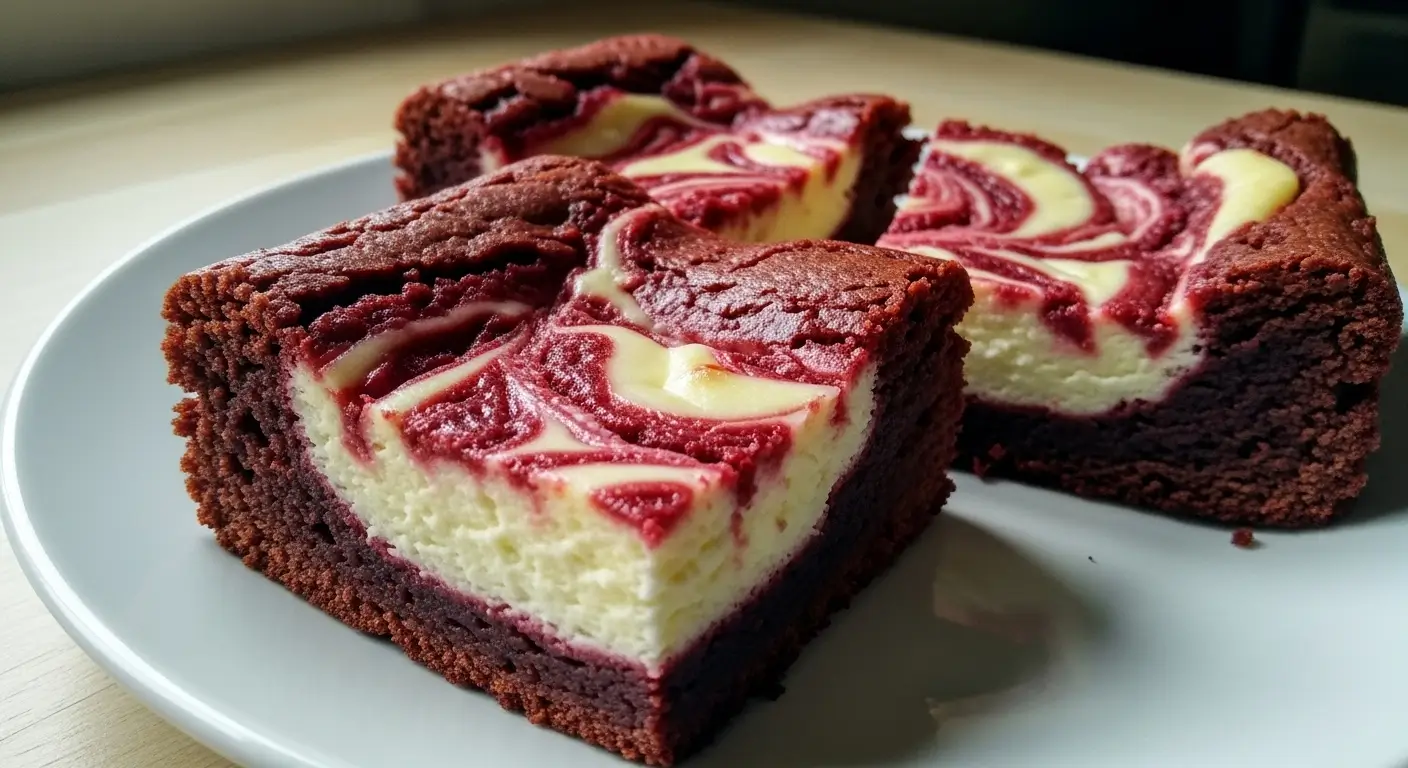
Look, I’ve tried a lot of brownie recipes. A LOT. My husband jokes that I should open a brownie museum at this point. But these red velvet brownies with that gorgeous cream cheese swirl? They’re special. Not just because they look fancy (though they totally do), but because the flavor combination is just… chef’s kiss.
Red velvet isn’t really chocolate and it’s not really vanilla. It’s this weird, wonderful thing in between with a slight tang from buttermilk or vinegar. And when you swirl in tangy cream cheese? Magic. Pure magic.
My 12-year-old, who normally won’t touch anything “fancy,” ate three of these in one sitting. THREE. Then had the audacity to ask if I could make them for his birthday party instead of regular cake.
The Secret to Perfect Red Velvet Cheesecake Brownies
Here’s what I learned the hard way: you can’t just dump everything together and hope for the best. Trust me on this one. The cheesecake layer needs to be thick enough to stay visible when you swirl it. Thin, watery cream cheese mixture? It’ll just vanish. Been there, cried about it.
Also—and this is important—don’t overmix the brownie batter once you add the flour. I know it’s tempting to keep stirring until it’s perfectly smooth, but overmixed brownies are tough brownies. Nobody wants tough brownies. Fold gently until you barely see any flour streaks and STOP. Just stop.
What You’ll Need (aka My Shopping Trip Disasters)
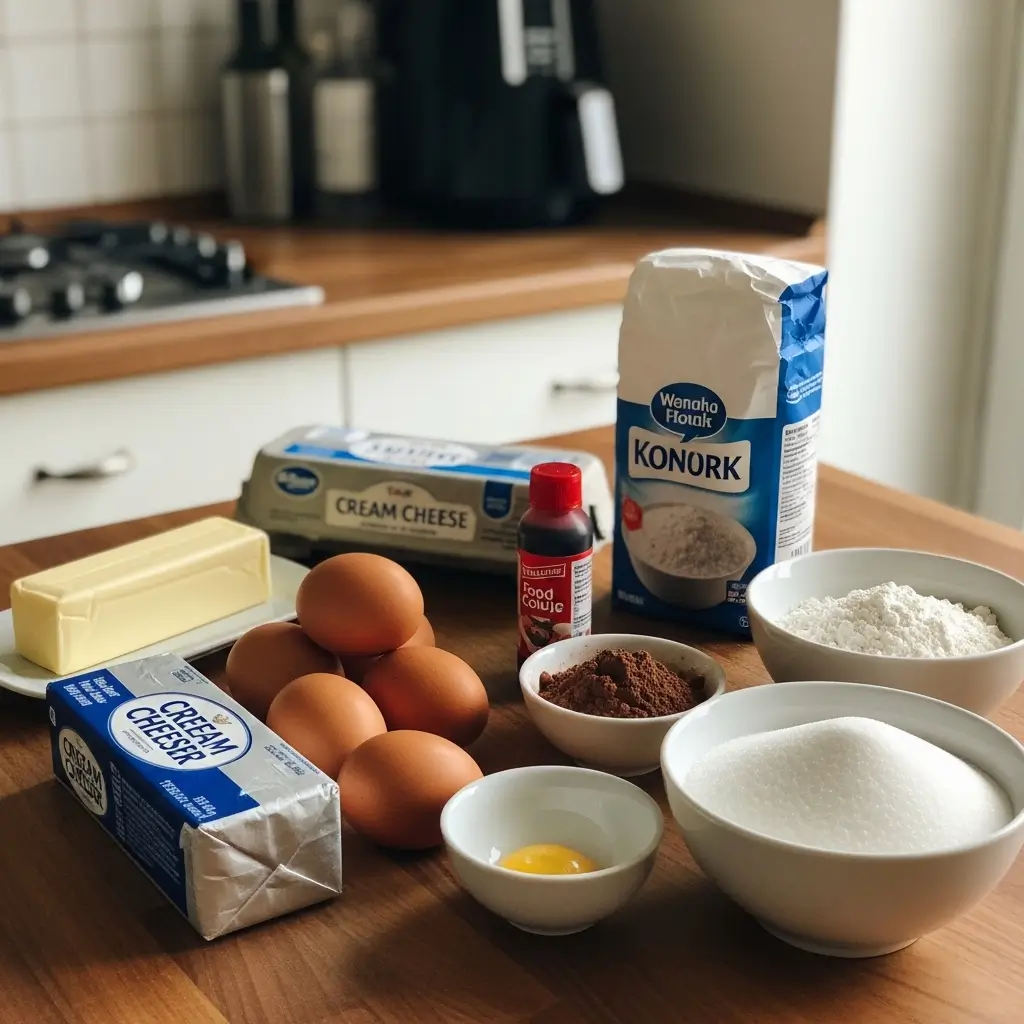
For the Red Velvet Brownie Layer:
- 1 cup butter, melted (I use salted because that’s what I always have)
- 1½ cups granulated sugar
- ½ cup light brown sugar (if yours is rock hard like mine always is, just microwave it for 10 seconds)
- 4 large eggs
- 1 tablespoon red food coloring (please don’t skimp on this—I tried using “natural” red food coloring once and they turned out brown)
- 1 tablespoon vanilla extract
- 1 teaspoon white vinegar (this is what makes it red velvet instead of just… red brownies)
- 1½ cups all-purpose flour
- 3 tablespoons cocoa powder
- ½ teaspoon salt
For the Cheesecake Swirl:
- 8 oz cream cheese, softened (SOFTENED. I cannot stress this enough. Cold cream cheese from the fridge will give you lumps)
- ⅓ cup granulated sugar
- 1 egg yolk
- 1 teaspoon vanilla extract
Speaking of cream cheese—last week I forgot to take it out ahead of time and tried to soften it in the microwave. It melted on one side and stayed cold on the other. Don’t be like me. Just set it on the counter an hour before you start.
How to Make These Best Red Velvet Cheesecake Brownies
Step 1: Get Your Oven Going
Preheat to 350°F. Line an 8×8 inch pan with parchment paper. I butter the pan first, then add the parchment so it sticks. Makes life easier when you’re trying to lift these babies out later.
Step 2: Make the Red Velvet Brownie Batter
In a big bowl, whisk together the melted butter and both sugars until it’s smooth and glossy. This takes like 2 minutes by hand. Add the eggs one at a time and whisk really well after each one. You want this mixture to be thick and kinda foamy—that’s what gives you those gorgeous crackly tops.
Now add your red food coloring, vanilla, and vinegar. Stir until everything’s bright red and uniform. Fair warning: your hands might look like you committed a crime scene for the next day or two. The red food coloring stains EVERYTHING.
In a separate bowl, whisk together the flour, cocoa powder, and salt. Then gently fold this into your wet ingredients. Use a spatula and fold just until combined. It’ll look thick and fudgy. Perfect.
Pour most of the batter into your prepared pan, but save about ¼ cup for the top. Set it aside in a small bowl.
Step 3: Make the Cheesecake Layer
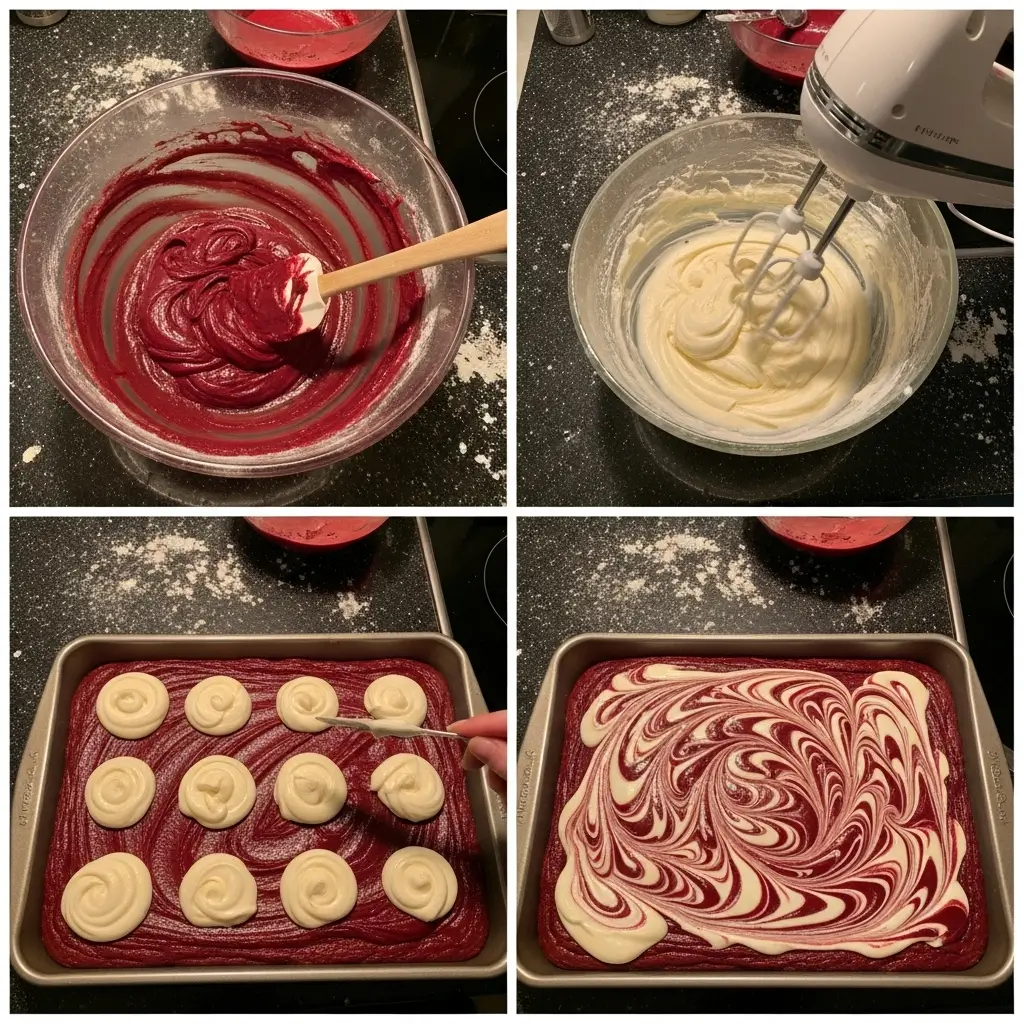
Here’s where things get fun. In a medium bowl, beat that softened cream cheese with the sugar until it’s smooth and creamy. No lumps allowed. Add the egg yolk and vanilla, and beat until everything’s combined and silky.
Drop big dollops of this cream cheese mixture all over the top of your brownie batter. Don’t worry about making it perfect—rustic is the vibe we’re going for here.
Step 4: The Swirl (My Favorite Part)
Take that reserved brownie batter and drop spoonfuls of it on top of the cream cheese dollops. Then grab a butter knife and swirl everything together. Big, dramatic swirls. Small, delicate swirls. Whatever makes you happy. There’s no wrong way to do this.
Actually, wait. There is one wrong way—don’t swirl too much or everything will just blend together into one muddy color. Ask me how I know. (It was attempt number two. We don’t talk about attempt number two.)
Step 5: Bake These Beauties
Pop them in the oven for 30-35 minutes. You want the edges to look set and the center to still have a tiny wobble. A toothpick inserted in the brownie part (not the cheesecake part) should come out with a few moist crumbs.
Here’s where I always panic and think they’re not done. But resist the urge to overbake! The cheesecake will firm up as it cools.
Let them cool in the pan for at least 20 minutes, then lift out the whole thing using the parchment paper. Let them cool completely before cutting. I know. I KNOW. It’s torture. But warm cheesecake brownies don’t cut cleanly and you’ll end up with a delicious mess instead of pretty squares.
Tips I Wish Someone Had Told Me
Use room temperature eggs. Cold eggs don’t incorporate as well and can make your batter weird and lumpy.
Don’t use gel food coloring if you can help it. Liquid works better for even distribution. I learned this after my first batch had random streaks of super red and kinda red.
These taste even better the next day. Something about the flavors melding overnight. Store them in an airtight container in the fridge.
Cut them with a hot knife. Run your knife under hot water, dry it, then cut. Rinse and repeat between each cut. Makes the prettiest slices.
Why You Should Make These for Valentine’s Day (Or Any Day)
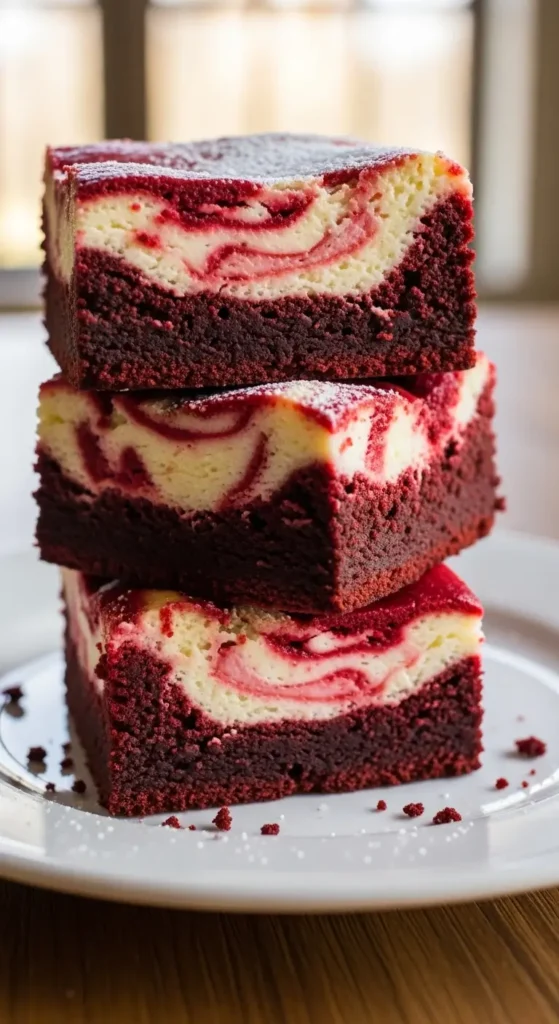
These fudgy red velvet cheesecake brownies are perfect for Valentine’s Day because they’re red and fancy-looking, but honestly? They’re good any time of year. I made them in July once just because I was craving them. My family didn’t complain.
They’re also great for potlucks because they look impressive but they’re actually pretty easy once you get the hang of it. People always ask for the recipe and I love watching their faces when they realize it’s not that complicated.
Plus, you can make them ahead! I’ve made these two days before serving and they were perfect. Just store them in the fridge and bring to room temperature before serving (or serve them cold if you’re impatient like me).
The Verdict
Is it the best red velvet cheesecake brownies recipe ever? My neighbor Sarah says yes. My husband says yes. My son and his entire seventh-grade class apparently say yes (I sent them to school once and became the cool mom for exactly one day).
So yeah. Make these. Your kitchen will smell amazing, your Instagram will look fantastic, and your taste buds will thank you. And if you mess up the first time, just remember—I messed up TWICE and I still kept going.
Now I’m craving these again. Thanks a lot, brain. Guess I know what I’m baking this weekend!
Let me know how yours turn out! Seriously, leave a comment because I’m always curious if other people have the same swirling issues I did or if I’m just special. 😊