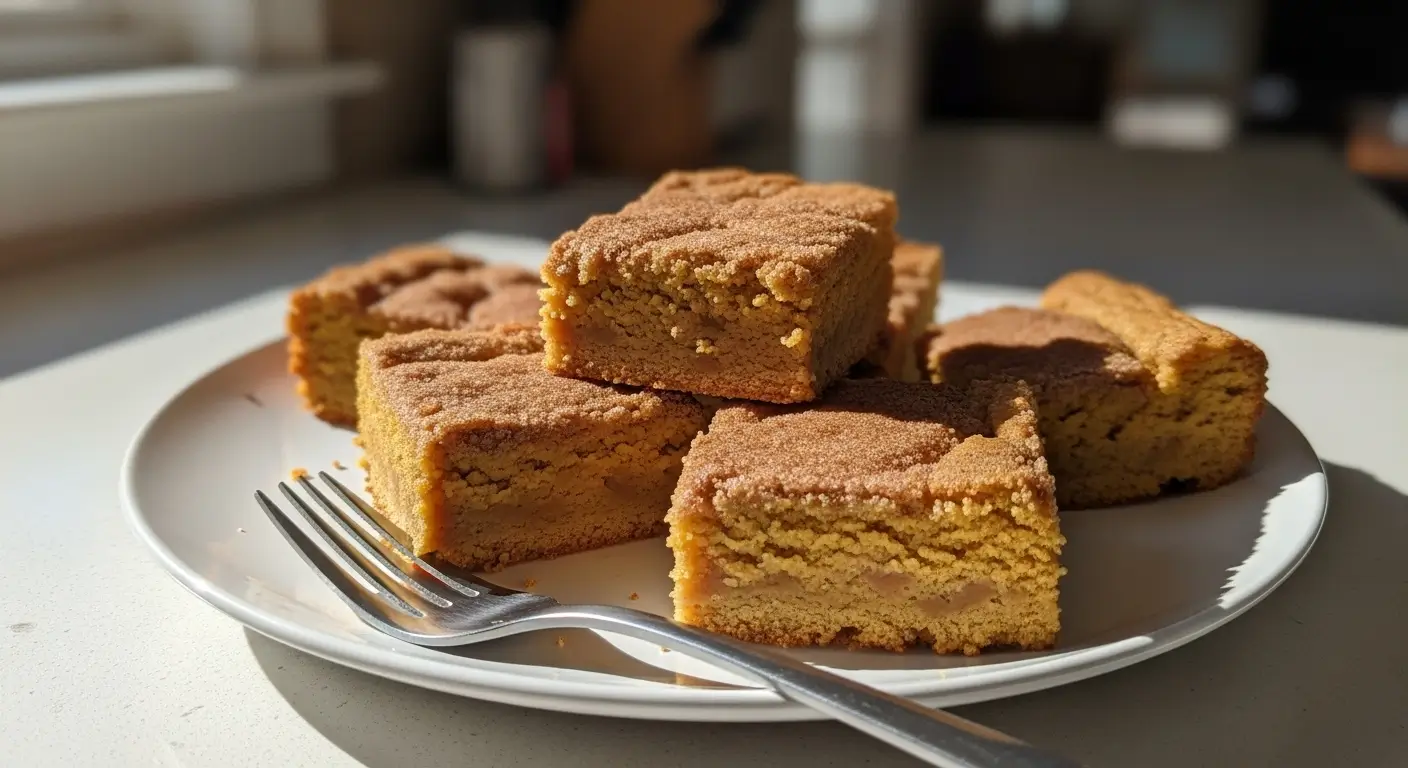
Pumpkin snickerdoodle blondies have basically taken over my life this month, and I’m not even a little bit sorry about it.
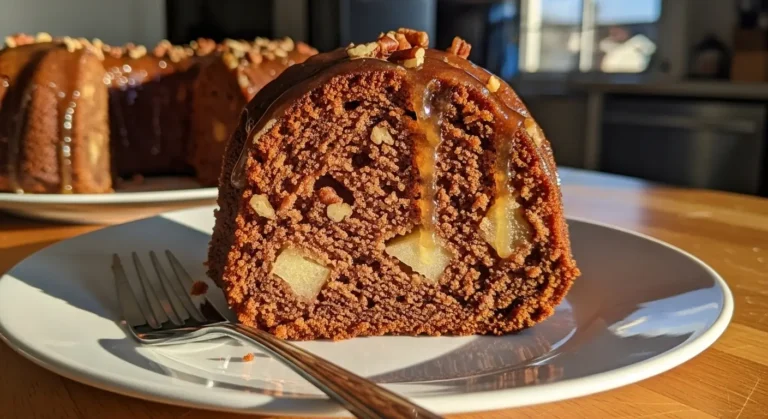
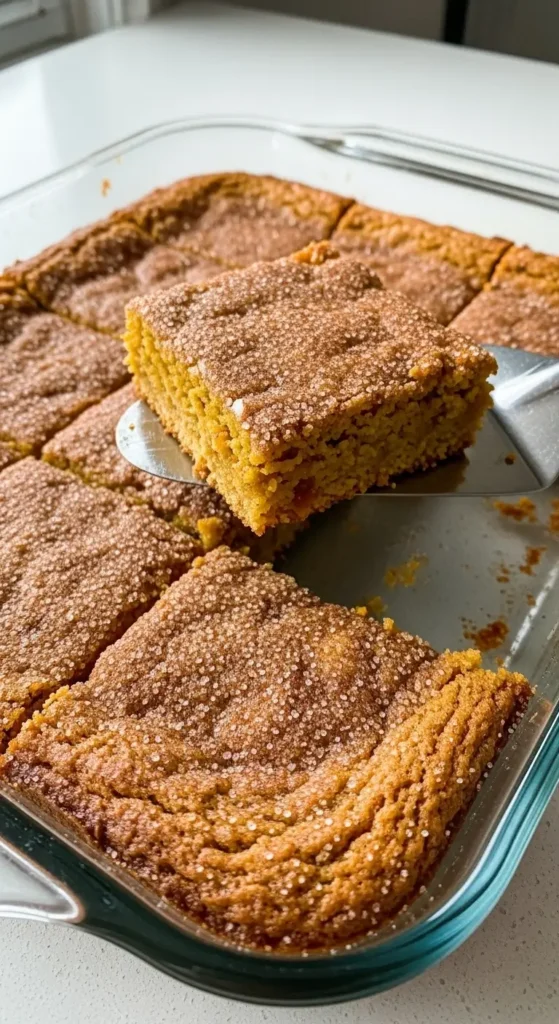
I know, I know. Another pumpkin recipe. But hear me out—these aren’t your typical fall dessert bars. These are like if a snickerdoodle cookie and a pumpkin bar had a baby, and that baby turned out to be the most popular kid in school. Chewy edges, soft center, and that cinnamon-sugar crust on top that cracks when you bite into it? Yeah. That’s what we’re talking about.
Table of Contents
How I Discovered These Easy Pumpkin Blondies
So this whole thing started because I bought way too much pumpkin puree at Costco. Like, I don’t know what I was thinking—maybe I thought I’d make pumpkin everything?—but I had six cans sitting in my pantry staring at me every time I opened the cabinet.
First attempt at making pumpkin snickerdoodle blondies? Total disaster. I used too much pumpkin (didn’t blot it, which—spoiler alert—you need to do), and the whole pan turned into this weird, gummy mess that wouldn’t set. My husband took one bite and said “it’s… interesting?” which is his polite way of saying “this is terrible but I don’t want to hurt your feelings.”
Second attempt was better but still not great. I overbaked them and they were dry as cardboard. My daughter literally dunked hers in milk just to be able to eat it.
But third time? Magic. Pure magic.
Actually, you know what? I lied. It took me four tries because on the third attempt I forgot to add the cinnamon sugar topping until AFTER I put them in the oven. Had to pull them out, sprinkle it on, put them back in… they were still good but the timing was all off.
Anyway, we’re here now with a recipe that actually works, and I’ve made it probably eight times in the past three weeks. My coworkers are obsessed. My neighbor keeps “accidentally” stopping by when they’re cooling on the counter. These pumpkin blondies are dangerous.
What Makes These the Best Pumpkin Blondies Recipe
Look, I’ve tried a LOT of pumpkin dessert bar recipes. And most of them are… fine. Just fine. But these? These hit different.
The secret is getting the pumpkin moisture content right (we’ll talk about that), using brown sugar for that deep caramel-y flavor, and not skimping on the cinnamon sugar topping. Also—oh wait, I forgot to mention—adding cream of tartar if you have it. That’s what gives it the real snickerdoodle vibe. If you don’t have cream of tartar, it’s still amazing, but if you do have it? Game changer.
Ingredients for Pumpkin Snickerdoodle Blondies
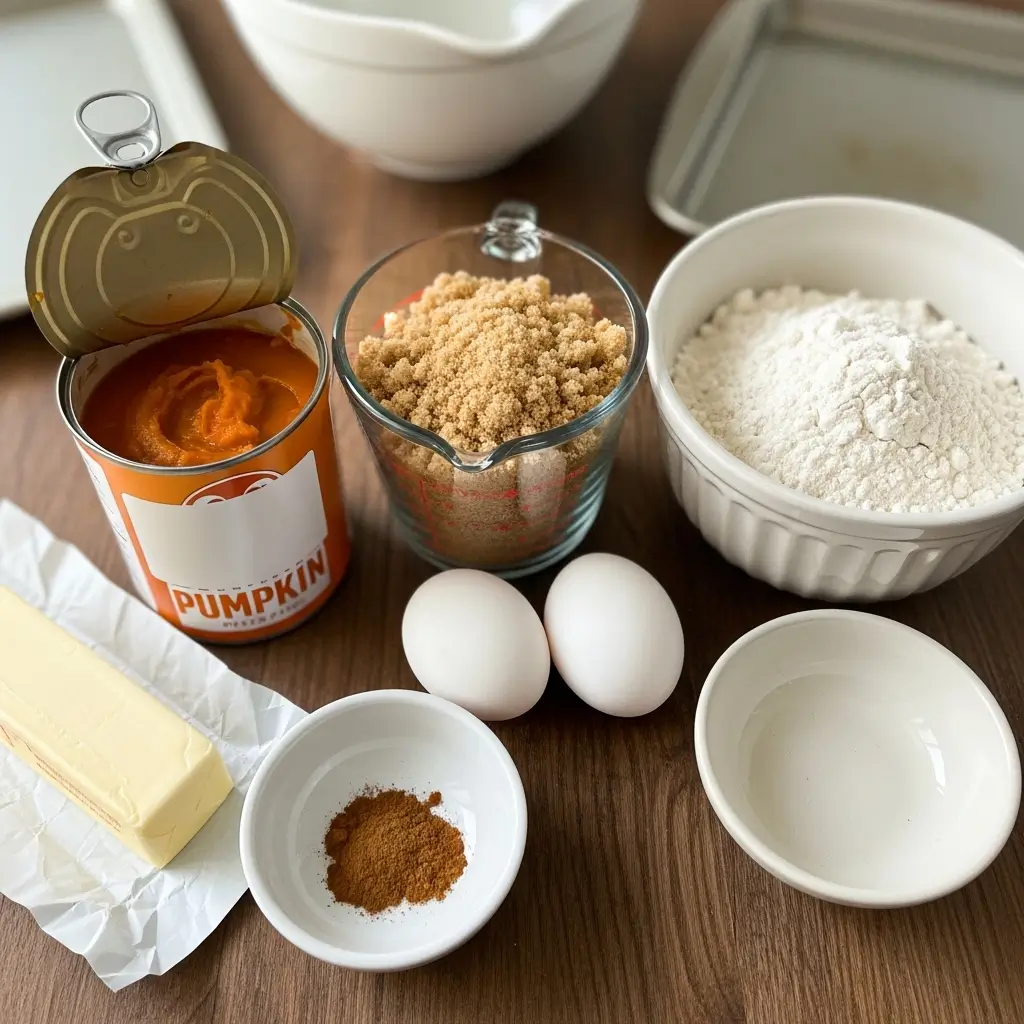
For the Blondies:
- ½ cup melted butter (I use salted because that’s what I buy)
- 1 cup packed light brown sugar
- 1 large egg plus 1 egg yolk (trust me on the extra yolk)
- ¾ cup pumpkin puree (BLOTTED—more on that in a sec)
- 1 tablespoon vanilla extract
- 1¼ cups all-purpose flour
- 2 teaspoons pumpkin pie spice (or make your own with cinnamon, nutmeg, ginger, cloves)
- ½ teaspoon baking powder
- ¼ teaspoon baking soda
- ¼ teaspoon salt
- ½ teaspoon cream of tartar (optional but recommended)
For the Cinnamon Sugar Topping:
- 3 tablespoons granulated sugar
- 2 teaspoons cinnamon
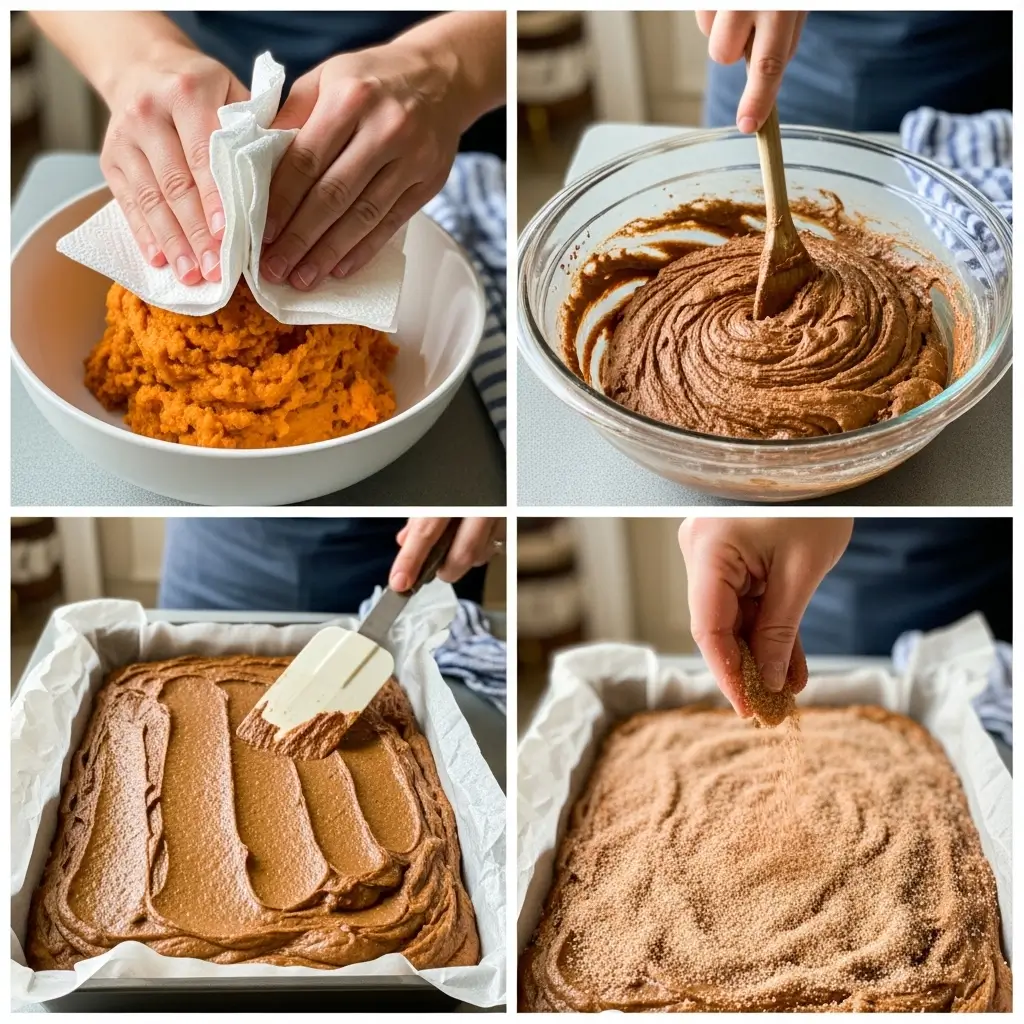
Blotting the pumpkin: This is KEY. Spread your pumpkin puree on a plate or cutting board, cover it with paper towels, and press down to absorb excess moisture. Change the paper towels and repeat like 5-6 times. You should end up with about ⅓ cup of thicker pumpkin. I didn’t do this the first time and regretted everything.
Making These Chewy Pumpkin Blondies (Step by Step)
Step 1: Preheat and Prep
Preheat your oven to 350°F. Line an 8×8 or 9×9 inch baking pan with parchment paper. I like to leave some overhang on the sides so I can lift the whole thing out later for easier cutting.
Grease the parchment with cooking spray or butter. Don’t skip this or you’ll be chiseling your blondies out of the pan later. (Been there.)
Step 2: Blot That Pumpkin
Seriously, don’t skip this step. I know it seems fussy. I thought it was fussy too. But canned pumpkin has SO much liquid in it, and if you don’t remove some of it, your snickerdoodle blondies will be gummy and won’t set properly.
Spread the pumpkin on a plate, press paper towels on top, let them absorb the liquid, throw those away, and repeat. I usually do this 5 or 6 times. You should have slightly less than ⅓ cup of thicker pumpkin puree when you’re done.
Step 3: Mix the Wet Ingredients
In a large bowl, whisk together the melted butter and brown sugar until it’s smooth and looks kinda glossy. This takes maybe 2 minutes by hand.
Add your egg and egg yolk (the extra yolk makes them extra chewy and rich—learned that from a baking blog years ago and it’s one of those tricks I use constantly). Whisk until everything is combined and lighter in color.
Stir in the blotted pumpkin puree and vanilla extract. Mix until smooth. It should look thick and creamy, kinda like… I don’t know, like a weird orange pudding situation.
Step 4: Add the Dry Stuff
In another bowl, whisk together the flour, pumpkin pie spice, baking powder, baking soda, salt, and cream of tartar (if using).
Add the dry ingredients to the wet ingredients and fold with a spatula—gently! Don’t overmix or you’ll end up with tough, cakey blondies instead of chewy ones. Mix just until there are no more dry flour streaks visible.
The batter will be thick. Like, really thick. That’s normal. It’s supposed to be thick.
Step 5: Spread and Top
Pour the batter into your prepared pan. Use a spatula to spread it evenly—it won’t want to spread because it’s so thick, but just work with it. Get it as even as you can.
In a small bowl, mix together the sugar and cinnamon for the topping. Sprinkle it GENEROUSLY over the entire surface of the batter. It’s gonna look like too much. It’s not too much. This is what makes them taste like snickerdoodles. Don’t be shy.
Step 6: Bake These Pumpkin Spice Blondies
Bake for 25-30 minutes. You want the edges to be set and maybe slightly pulling away from the sides of the pan, but the center should still look a little soft. A toothpick inserted in the center should come out with a few moist crumbs, not wet batter, but definitely not completely clean.
Here’s the thing: underbaked is better than overbaked with these. They’ll firm up as they cool, so don’t panic if they seem a little soft when you take them out.
Step 7: The Hardest Part
Let them cool completely in the pan. I know. I KNOW. It’s torture. But if you try to cut them while they’re warm, they’ll fall apart and you’ll be sad.
I usually let mine cool for at least an hour. Sometimes I make them at night and let them cool overnight, then cut them in the morning. They actually taste even better the next day after the flavors have had time to meld together.
Tips for Perfect Snickerdoodle Dessert Bars
Don’t skip blotting the pumpkin. I’ve said this like three times already but I’m saying it again because it’s THAT important.
Use room temperature eggs. Cold eggs don’t incorporate as well. I usually just put mine in a bowl of warm water for 5 minutes while I gather the other ingredients.
Brown sugar is key. I tried making these with all white sugar once to see what would happen. They were… fine. But not amazing. The brown sugar adds that caramel depth that makes these special.
Line your pan with parchment. Makes cutting and serving SO much easier. Just lift the whole thing out, peel back the parchment, and cut.
Store them properly. Keep them in an airtight container at room temperature for up to 3 days, or in the fridge for up to a week. They also freeze really well—I cut them into squares, wrap individually in plastic wrap, and freeze for up to 3 months.
Why These Fall Blondies Recipe Are Worth Making
These pumpkin snickerdoodle blondies are everything I want in a fall dessert. They’re easy—like, one bowl easy. They use simple ingredients you probably already have. They’re soft and chewy with that amazing cinnamon-sugar crust. And they taste like autumn in dessert form without being overly spiced or too sweet.
My kids eat them for after-school snacks. I eat them for breakfast with my coffee (don’t judge me). My husband eats them straight from the pan while standing at the kitchen counter. They’re that kind of dessert.
Are they healthy? Absolutely not. But they’re made with real pumpkin, so that counts for something, right? That’s what I tell myself anyway.
Make a batch this weekend. Cut them into squares. Maybe warm one up for 10 seconds in the microwave and add a scoop of vanilla ice cream on top. You’re welcome.
Let me know if you try these! I’m always curious to hear how people’s turn out. And if you have any tricks for making them even better, drop them in the comments because I’m always looking to level up my baking game.
Happy fall baking! 🎃