Okay, so I’m gonna be honest here. I made peppermint bark cookies for the first time last December and completely butchered them. Like, the white chocolate seized up into this weird grainy mess, and I ended up scraping the whole batch into the trash. My husband walked in, saw me stress-eating candy canes, and just slowly backed out of the kitchen.
But here’s the thing—I’m stubborn. And also, I promised my sister-in-law I’d bring something festive to her Christmas party. So I tried again. And again. And on attempt number three? Magic happened.
These peppermint bark cookies are now my go-to holiday recipe, and people literally ask me to make them year-round. Which is wild because they’re honestly not that hard once you know the tricks. (Why didn’t anyone tell me about the double boiler situation earlier? Could’ve saved myself so much grief.)
Table of Contents
What Makes These Cookies Different
Look, I’ve tried a lot of peppermint bark cookie recipes. Some are basically sugar cookies with crushed candy canes thrown on top. Others are chocolate cookies that taste more like brownies. Don’t get me wrong, those are fine, but they’re not what I wanted.
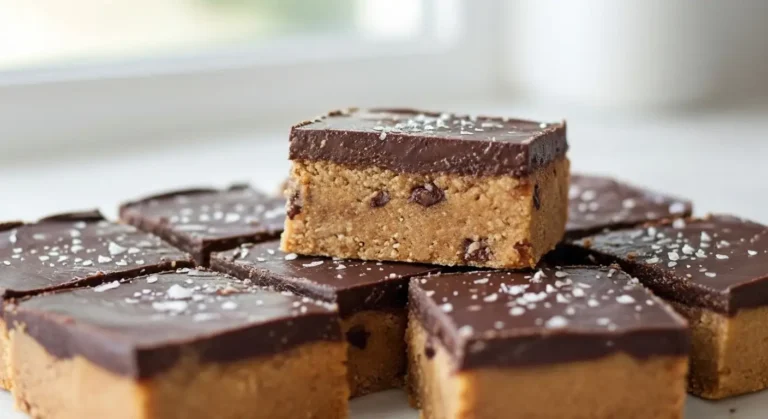
I wanted something that actually tastes like peppermint bark—you know, that white chocolate and dark chocolate combo with candy cane pieces that shows up everywhere during the holidays. These cookies nail that flavor. They’re soft and chewy (not crunchy, because honestly who wants a crunchy cookie?), loaded with white chocolate chips, and have this perfect peppermint punch from the crushed candy canes.
My 6-year-old nephew, who normally only eats chicken nuggets and plain pasta, ate four of these in one sitting. His mom was not thrilled with me, but hey, that’s basically a five-star review in my book.
The Ingredients You’ll Need
Here’s where I’m gonna save you some trouble. Don’t cheap out on the chocolate. I made that mistake the first time—bought store-brand white chocolate chips, and they were waxy and gross. Spring for the good stuff. Ghirardelli works great, or honestly just grab whatever’s on sale at Target.
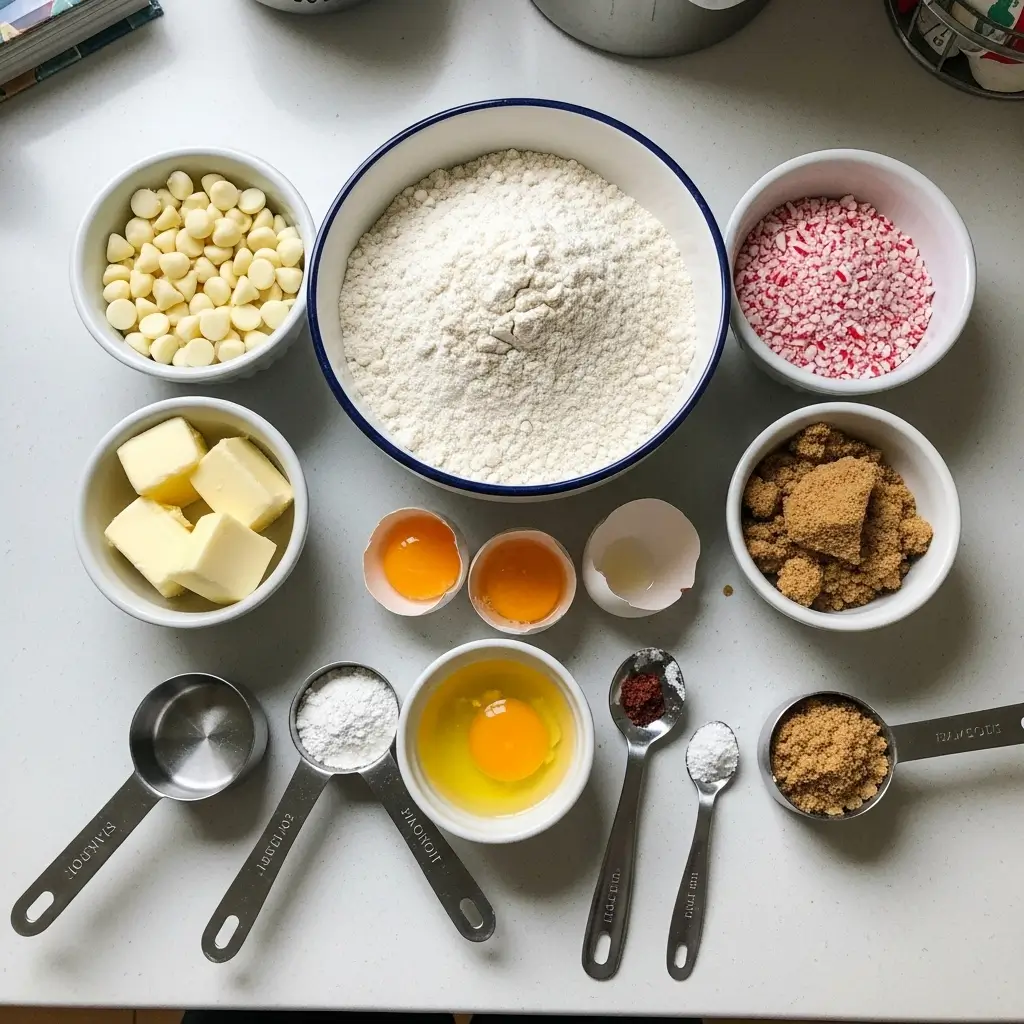
- 2 1/4 cups all-purpose flour
- 1 teaspoon baking soda
- 1/2 teaspoon salt
- 1 cup unsalted butter, softened (leave it out for like an hour before baking)
- 3/4 cup granulated sugar
- 3/4 cup packed brown sugar
- 2 large eggs
- 2 teaspoons vanilla extract
- 1 teaspoon peppermint extract (this is KEY—don’t skip it)
- 1 1/2 cups white chocolate chips
- 1/2 cup crushed candy canes (about 6-8 regular candy canes)
- 1/2 cup dark chocolate chips for topping (optional but highly recommended)
Quick tip: Crushing candy canes is weirdly therapeutic. I throw them in a ziplock bag and just go to town with my rolling pin. Sometimes I imagine I’m crushing my stress from the holidays. Works every time.
How to Make Peppermint Bark Cookies

Step 1: Mix Your Dry Stuff
Preheat your oven to 350°F. In a medium bowl, whisk together the flour, baking soda, and salt. Set it aside.
This is the boring part. I usually start this, get distracted by my phone, and come back 10 minutes later like “oh right, cookies.”
Step 2: Cream the Butter and Sugar
In a large bowl (or your stand mixer if you’re fancy—I just use a hand mixer), beat the softened butter with both sugars until it’s light and fluffy. This takes like 3-4 minutes. Your arm will get tired if you’re doing it by hand. Trust me.
Add the eggs one at a time, then the vanilla and peppermint extract. Beat until everything’s combined.
Now here’s where I messed up the first time—I added too much peppermint extract because I thought “more is better,” right? Wrong. It tasted like toothpaste. Stick with the 1 teaspoon. Maybe 1 1/4 if you’re feeling wild, but that’s the limit.
Step 3: Combine Everything
Gradually mix in your flour mixture. Don’t overmix this—just stir until you can’t see any white flour streaks. Then fold in the white chocolate chips and about half of your crushed candy canes. Save the rest for topping.
The dough will look kinda thick and chunky. That’s normal. If it looks smooth and perfect, you probably overmixed it. (Been there, done that, cookies turned out like hockey pucks.)
Step 4: Bake These Bad Boys
Drop rounded tablespoons of dough onto a parchment-lined baking sheet. Give them like 2 inches of space—they spread a bit but not crazy amounts.
Bake for 10-12 minutes. They should look slightly underdone in the center when you pull them out. This is IMPORTANT. They’ll keep cooking on the pan for a few minutes after you take them out of the oven. If you wait until they look fully done, they’ll be overdone. I learned this the hard way when my first batch came out crunchy instead of chewy.
Let them cool on the pan for 5 minutes, then transfer to a wire rack.
Step 5: The White Chocolate Topping
Okay, this is where the magic happens. While the cookies are cooling, melt your dark chocolate chips. I use the microwave in 30-second bursts, stirring between each one. (I’ve also burned chocolate by nuking it too long. Smoke alarm went off. Neighbor knocked on my door to make sure everything was okay. Not my finest moment.)
Drizzle the melted dark chocolate over the cooled cookies, then immediately sprinkle with the remaining crushed candy canes. The chocolate will harden as it cools and trap those candy cane pieces in place.

Tips I Wish Someone Had Told Me
About the peppermint extract: If you can’t find it, you can use mint extract, but it’s not quite the same. Peppermint has that sharper, more candy-cane-like flavor. Mint is more mellow. Both work, but peppermint is better for this recipe.
Storage: These keep for about a week in an airtight container. But honestly, they’ve never lasted that long in my house. My husband keeps sneaking them, and then acts all innocent when I catch him. “What? I only had one!” Sure, buddy.
Freezing: You can freeze the dough! Roll it into balls, freeze them on a baking sheet, then transfer to a freezer bag. When you want fresh cookies, just bake them straight from frozen—add an extra 2 minutes to the baking time. This saved my life when I had unexpected guests show up and needed a quick dessert.
Candy cane freshness: Use fresh candy canes. I tried using some leftover ones from the previous year once, and they were stale and weird. Learn from my mistakes.
Why These Work for Holiday Parties
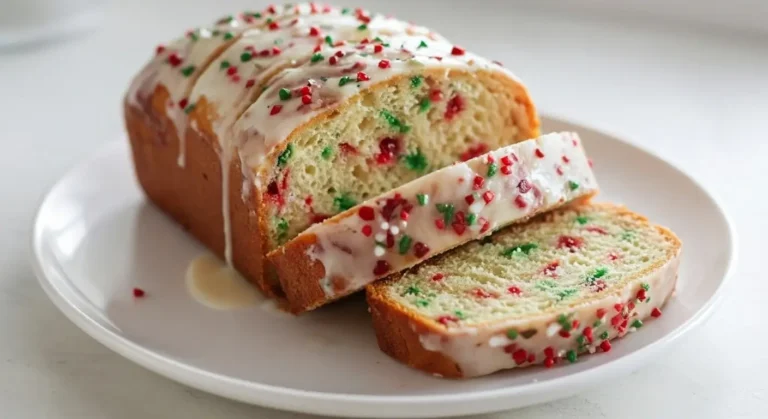
I’ve brought these peppermint bark cookies to like five different Christmas parties now, and they’re always the first thing to disappear. I think it’s because they look festive (those red and white candy cane pieces are so pretty), they taste amazing, and they’re not too fancy. Nobody’s intimidated by a cookie.
Plus, they travel really well. Just layer them between sheets of parchment paper in a container, and you’re good to go. I learned that after showing up to a party with a ziplock bag of broken cookies. Not cute.
My friend Sarah, who’s gluten-free, keeps asking me to make a GF version. I haven’t tried it yet, but I’m pretty sure you could just swap the flour for a 1:1 gluten-free blend. If anyone tries this, let me know how it goes!
The Verdict
Look, I’m not saying these are the best cookies I’ve ever made. But they’re definitely in the top three. They’re festive, they’re delicious, and they make your house smell like Christmas threw up in the best way possible.
Are they as pretty as the ones you see on Pinterest with perfect drizzle patterns? Nope. Mine always look a little messy. But they taste better than they look, which is really all that matters.
If you make these peppermint bark cookies, send me a picture! Or at least tell me if you had any disasters. Makes me feel better about my burnt chocolate incident.
Happy baking! And may your candy canes crush evenly (mine never do).
[Recipe_Card]