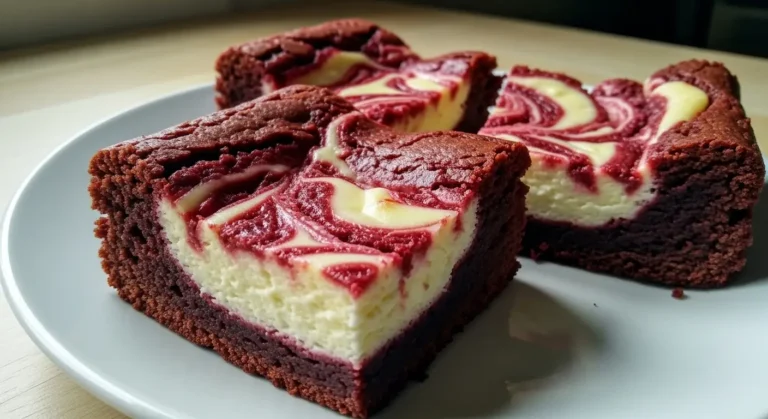
So… mini red velvet cheesecakes are basically the reason I gained five pounds last February. Not even kidding.
I made these for Valentine’s Day last year (well, technically I made them like four times because the first three batches were disasters, but we’ll get to that). My husband took one bite and literally said “you need to make these every week.” Every. Week. The man never asks for anything specific, but these mini red velvet cheesecakes turned him into a dessert beggar.
Now here’s the thing—I’m not usually a red velvet person. I think it’s just chocolate cake with food coloring, and I’ll die on that hill. But when you combine it with cheesecake in these little bite-sized portions? Game changer. Total game changer.
Table of Contents
Why These Mini Red Velvet Cheesecakes Work
Look, I’ve tried probably a dozen different mini cheesecake recipes over the years. Some crack on top (so annoying). Some are too dense. Some taste like sweetened cream cheese and not actual cheesecake.
These are different.
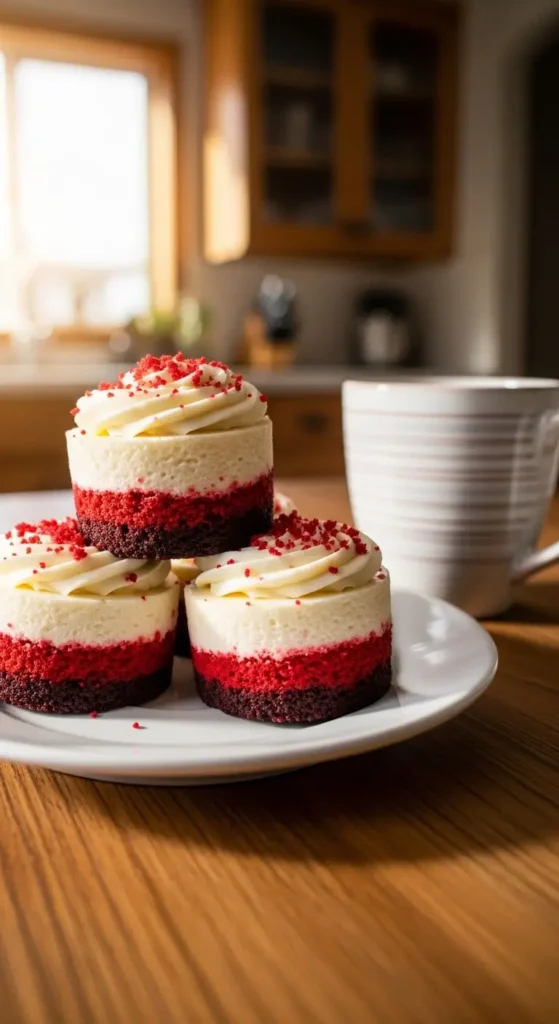
The red velvet base is soft but not cakey. The cheesecake filling is creamy without being too heavy. And they’re the perfect size for when you want dessert but don’t want to commit to a whole slice of regular cheesecake.
My sister-in-law—who bakes for a living, by the way—asked me for this recipe after I brought them to Easter dinner. That’s when I knew I’d finally nailed it. She NEVER asks for recipes.
What You Need for Mini Red Velvet Cheesecakes
Here’s where I’ll save you some trouble because I learned the hard way what works and what doesn’t.
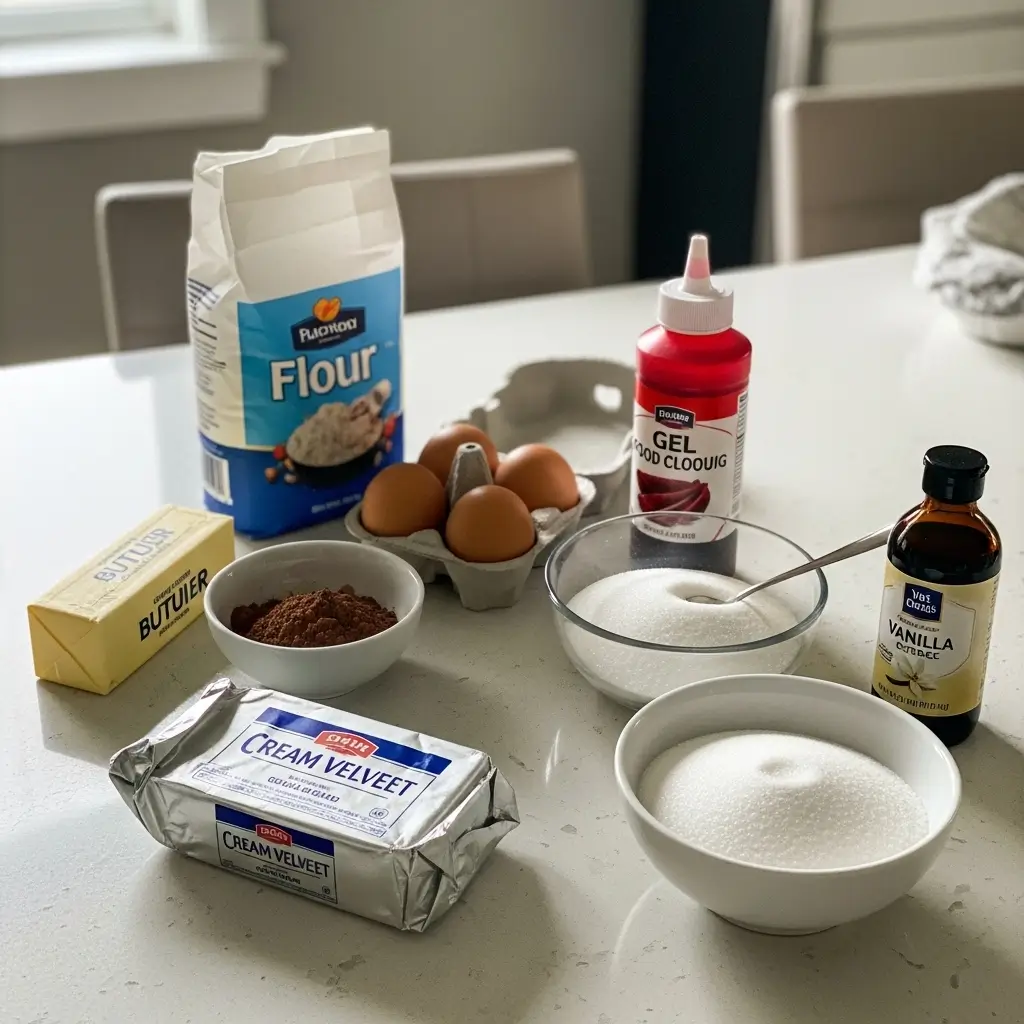
For the Red Velvet Base:
- 1 cup all-purpose flour
- ¼ cup plus 1 tablespoon unsweetened cocoa powder (use the good stuff, not that weird chalky kind)
- ¾ cup butter, melted and cooled (I use salted because I like the flavor)
- 1¼ cups granulated sugar
- 1 tablespoon red gel food coloring (DO NOT use liquid food coloring—trust me)
- 2 teaspoons vanilla extract
- 2 large eggs, room temperature
For the Cheesecake Filling:
- 8 oz cream cheese, softened (Philadelphia is my go-to)
- ¼ cup sugar
- 1 teaspoon vanilla extract
- 1 large egg yolk
Pro tip about the food coloring—I used liquid the first time and needed like a quarter of the bottle to get decent color. Then it made the batter too thin. Use gel. Just use gel.
Also, room temperature eggs actually matter here. I used cold eggs once because I was impatient and the batter got lumpy. Learned that lesson real quick.
How to Make These Easy Mini Red Velvet Cheesecakes
Alright, let’s do this. I’m gonna walk you through exactly how I make these, including where I screwed up so you don’t have to.
Step 1: Prep everything
Preheat your oven to 350°F. Spray a mini muffin pan with cooking spray. Like, really spray it good. These will stick if you’re stingy with the spray (another lesson learned the hard way when I had to dig them out with a knife).
Step 2: Make the red velvet base
Whisk your flour and cocoa powder together in a small bowl. Set it aside.
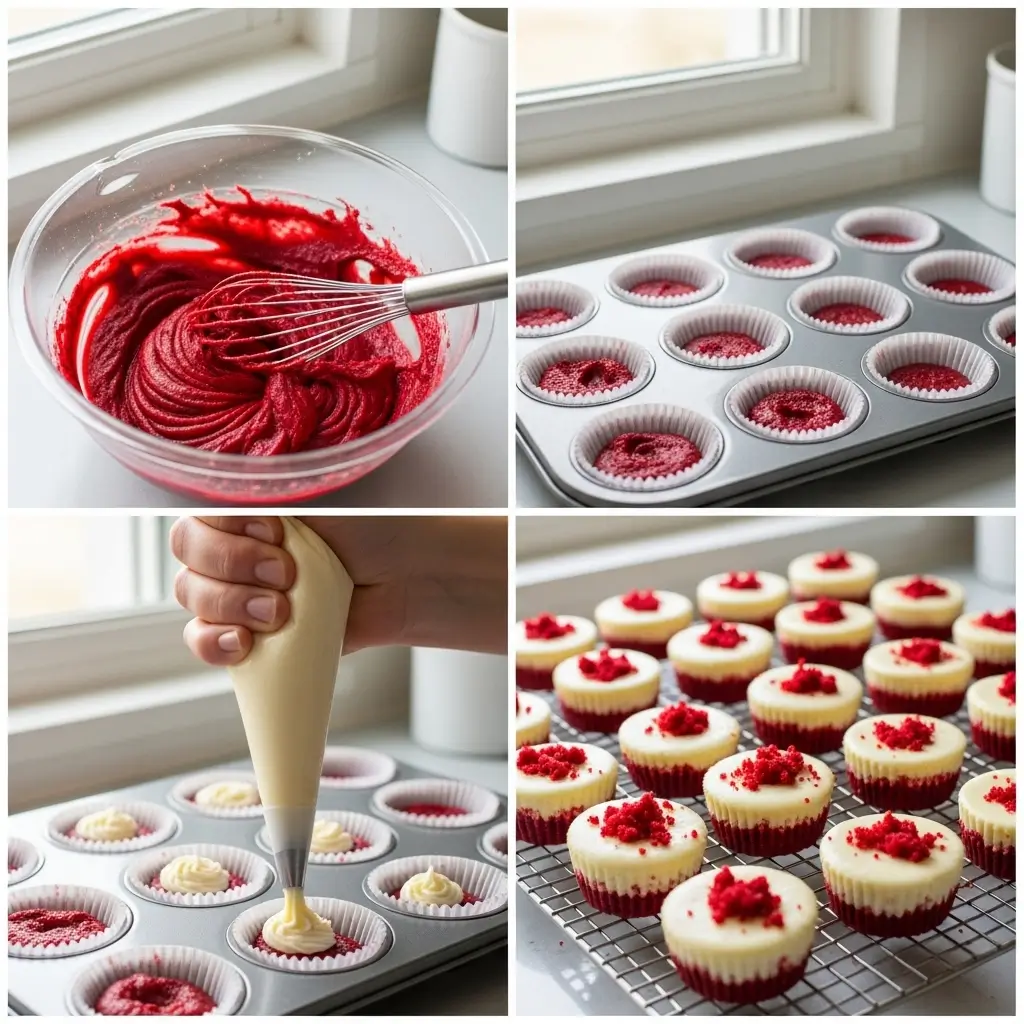
In a bigger bowl, whisk together the melted butter (make sure it’s cooled or it’ll cook your eggs—yep, did that too), sugar, red food coloring, vanilla, and eggs. Mix until it’s smooth and looks kinda like… well, it looks super red. Almost unnaturally red. That’s normal.
Stir in your flour mixture until just combined. Don’t overmix or you’ll get tough cheesecakes. Just mix until you don’t see dry flour anymore and call it done.
Step 3: The cheesecake filling
Beat the cream cheese with a hand mixer for about a minute. It should look smooth and fluffy. Add the sugar and vanilla, then beat for another minute or so.
Add that egg yolk and mix just until the yellow disappears. That’s it.
Here’s a tip that changed everything for me—put the cheesecake filling in a ziplock bag. Just scoop it in there, squeeze out the air, and seal it up. You’ll use it like a piping bag in a minute.
Step 4: Assembly (the fun part)
Add exactly 1 tablespoon of the red velvet batter to each muffin cup. I use a cookie scoop for this because it keeps them consistent.
Snip off a corner of that ziplock bag with the cheesecake filling. Squeeze about 2 teaspoons of filling right into the center of each red velvet base. The filling will sink down a bit—that’s totally fine. Actually, that’s what you want.
Step 5: Bake these mini red velvet cheesecakes
Pop them in the oven for 8-9 minutes. They’re done when the tops look set but still have a tiny jiggle. Don’t overbake them or they’ll be dry.
This is super important—let them cool in the pan for at least 20-30 minutes before you try to remove them. I got impatient my first time and they all fell apart. Literally crumbled. I ate the pieces standing over the sink like some kind of dessert goblin.
Once they’ve cooled a bit, carefully run a butter knife around each edge and pop them out. Transfer to a wire rack to cool completely.
My Random Tips and Discoveries
Okay, so here are some things I figured out after making mini red velvet cheesecakes way too many times:
- These are even better the next day after they’ve been in the fridge overnight. The flavors like… meld together or something. I don’t know the science, but it’s true.
- You can top them with whipped cream, but honestly they don’t need it. I’ve also done cream cheese frosting which is amazing but feels like overkill.
- One batch makes about 24 mini cheesecakes. They disappear FAST though. Like, suspiciously fast.
- If you’re making these for a party, you can bake them two days ahead. Just keep them in an airtight container in the fridge.
- My 7-year-old calls these “red cupcakes” and loses her mind every time I make them. She doesn’t even like cheesecake normally, but these are apparently different.
Storing Mini Red Velvet Cheesecakes
These keep in the fridge for about 5 days in an airtight container. Layer them between parchment paper so they don’t stick together.
You can also freeze them for up to 2 months. Let them thaw in the fridge overnight before serving. The texture stays pretty much the same, which is awesome for making them ahead.
When to Make These
Obviously Valentine’s Day is the big one—the red color is perfect. But I’ve also made these for:
- Christmas (they look festive)
- Birthday parties (easier than cutting cake for a crowd)
- Random Tuesday nights when I needed chocolate (no judgment please)
They’re also great for potlucks because they’re already portioned out and you don’t need plates or forks. People can just grab one and go.
Final Thoughts on These Red Velvet Cheesecake Bites
Here’s the deal—these mini red velvet cheesecakes aren’t difficult to make, but they do require a little bit of attention to detail. Room temperature eggs, gel food coloring, proper cooling time. But if you follow the steps, they turn out perfect every single time.
I’ve made these for so many occasions now that my family just expects them. Last month I brought regular brownies to a gathering and my nephew asked where the “red cheese cupcakes” were. That’s what I’m known for now apparently.
Try them. Seriously. Make them for someone you love, or make them just for yourself and hide them in the back of the fridge behind the vegetables where no one looks (I may or may not do this regularly).
Let me know how yours turn out! And if you have any tricks for making them even better, drop a comment because I’m always looking to up my game.
Now if you’ll excuse me, I have a batch cooling on my counter and the temptation is real.
Happy baking! ❤️
[Recipe_Card]