Christmas cookie bars are my absolute saving grace during the holidays. And I mean that literally because last year I signed up for THREE cookie exchanges before realizing I’d committed to baking like 15 dozen cookies in two weeks.
Panic mode.
Then my sister-in-law texted me a photo of these cookie bars she’d made and was like “I just cut them into squares and called it a day.” Mind. Blown. Why didn’t I think of that sooner?
Table of Contents
Why These Easy Christmas Cookie Bars Changed My Life
Look, I love baking. But I don’t love spending six hours scooping individual cookie dough balls onto sheets, waiting for them to bake, cooling them, repeating twelve more times. December is chaotic enough without becoming a cookie assembly line.
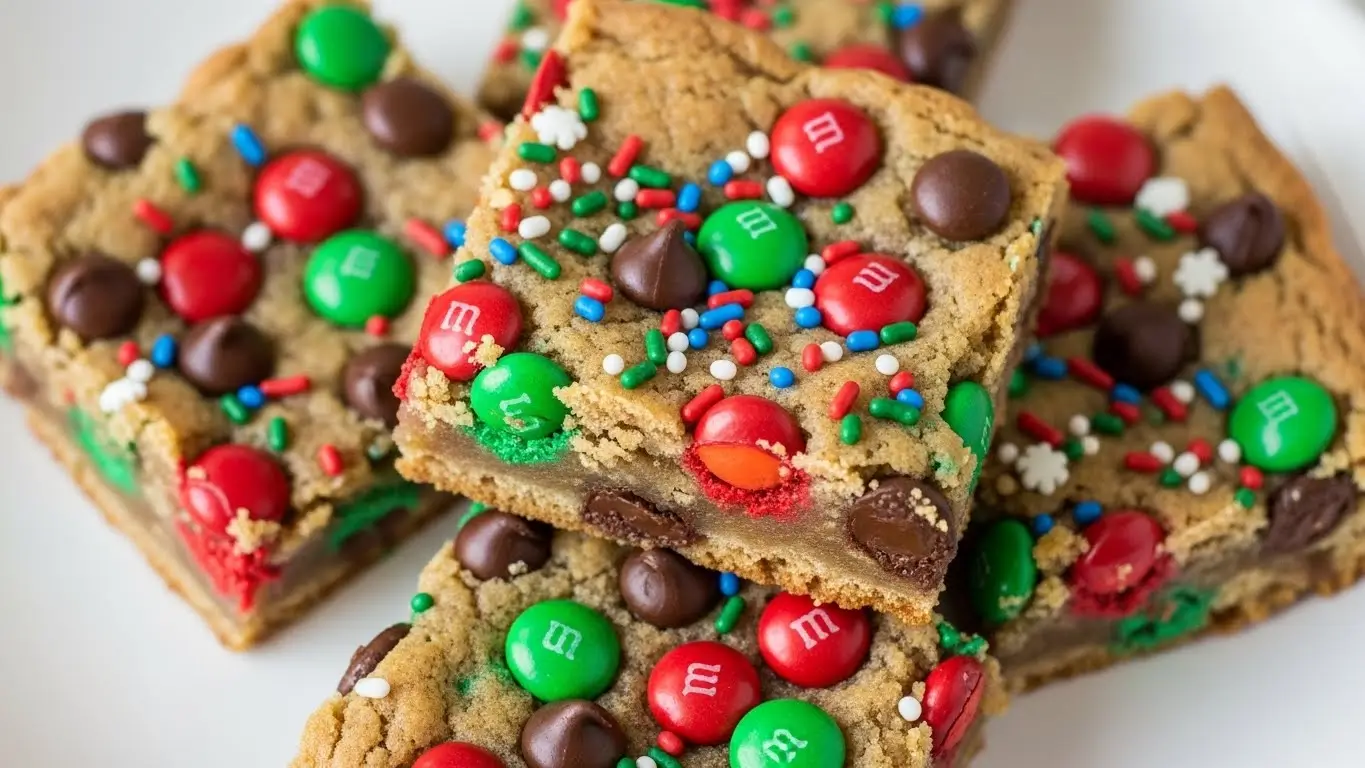
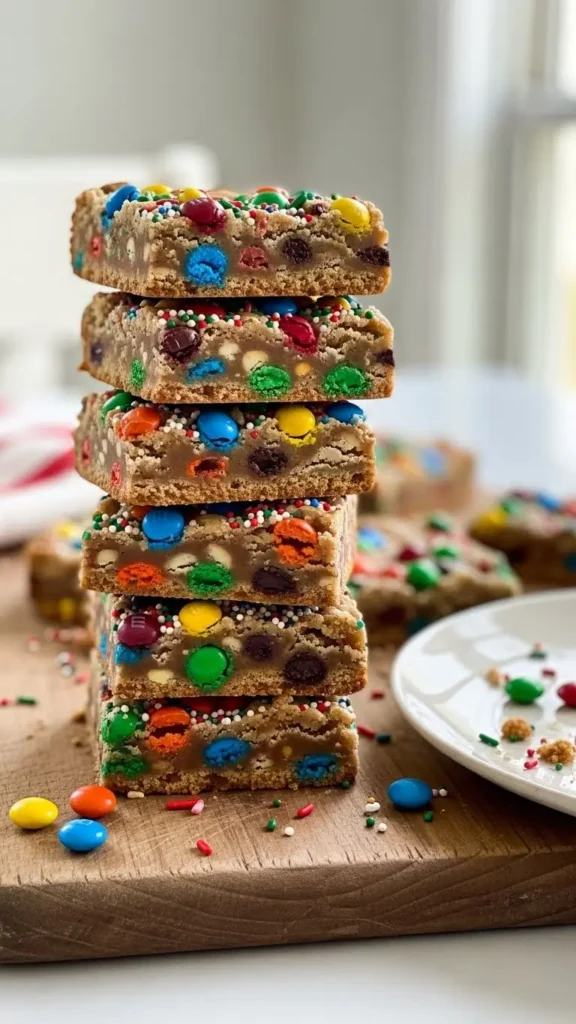
These best christmas cookie bars recipe is basically a chocolate chip cookie in bar form, but dressed up all festive with red and green M&Ms and Christmas sprinkles. You make one batch, bake it in a 9×13 pan, and boom—you’ve got like 24 cookies worth of dessert.
The first time I made these was actually kind of a disaster. I used a glass pan instead of metal and the bottom burned while the top was still raw. My husband took one bite and just said “interesting texture” which is marriage-speak for “this is bad but I love you.”
Metal pan. Always use a metal pan for these. Trust me.
What Makes These the Best Holiday Cookie Bar Recipes
Here’s what I love about this recipe—it’s basically foolproof once you know the tricks. The dough comes together in one bowl, there’s no chilling required (HALLELUJAH), and you can customize it with whatever holiday candy you’ve got lying around.
Last week my neighbor brought over a bag of leftover Halloween M&Ms and I thought “why not?” Threw them in with the Christmas ones. Nobody noticed. Or if they did, nobody complained.
The key is—oh wait, I forgot to mention—you need to slightly underbake these. They’ll look not quite done in the middle when you pull them out, but they firm up as they cool. If you bake them until they look “done,” you’ll end up with cookie bricks. Been there, regretted that.
Ingredients for These Christmas M&M Cookie Bars
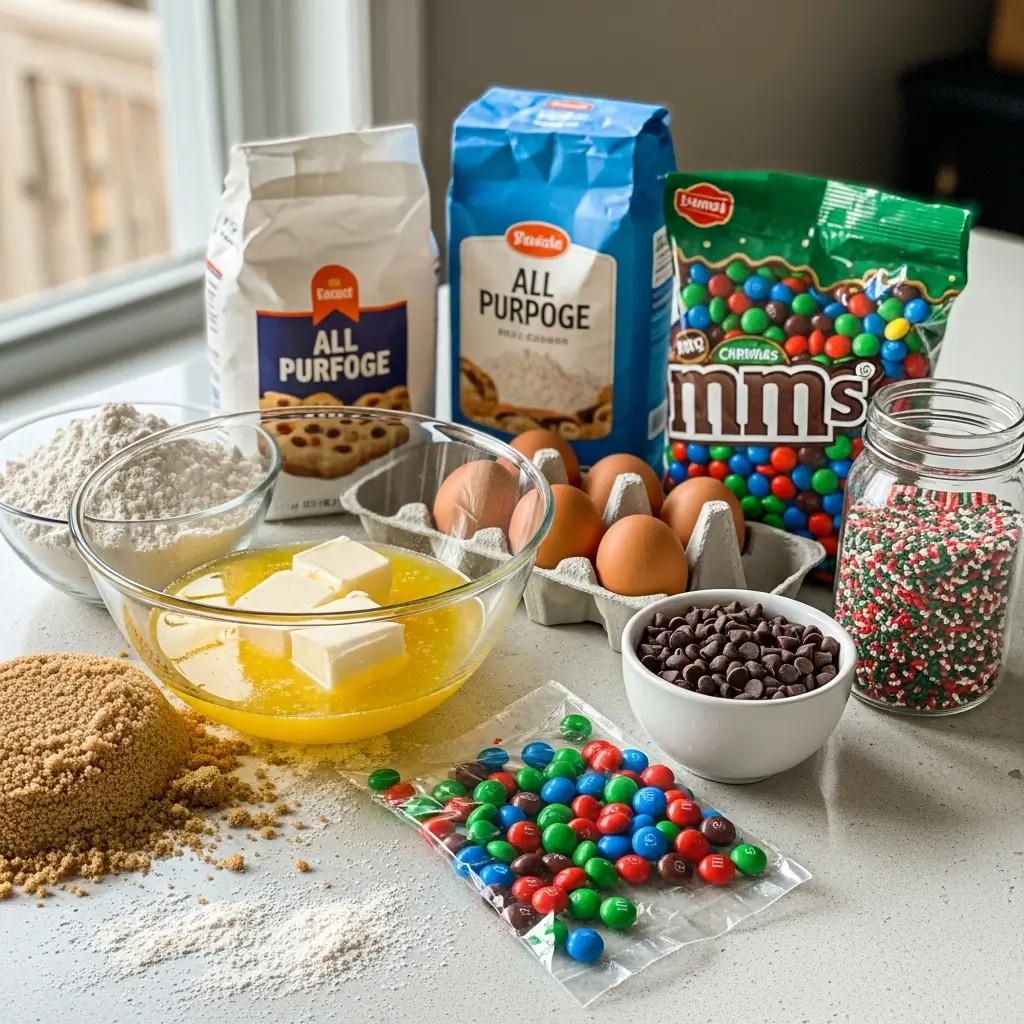
For the cookie dough:
- 3/4 cup unsalted butter, melted (not softened, melted—life’s too short to wait)
- 3/4 cup light brown sugar, packed
- 1/2 cup granulated sugar
- 1 large egg plus 1 egg yolk (the extra yolk makes them chewy)
- 2 teaspoons vanilla extract
- 2 cups all-purpose flour
- 1 teaspoon baking soda
- 1/4 teaspoon baking powder
- 1/2 teaspoon salt
- 1 cup semi-sweet chocolate chips
- 1 cup Christmas M&Ms (the red and green ones, or whatever colors you want)
- 1/2 cup Christmas sprinkles
Shopping for these is pretty straightforward except finding those Christmas M&Ms in November when stores are still selling Halloween candy. I’ve learned to just stock up when I see them because they disappear fast.
And about those sprinkles—get the long jimmie ones, not the little round balls. The round ones just roll off and end up all over your kitchen floor. My dog loves them but my vacuum does not.
How to Make Chewy Cookie Bars for Christmas
Alright, here’s the actual process and it’s stupid easy:
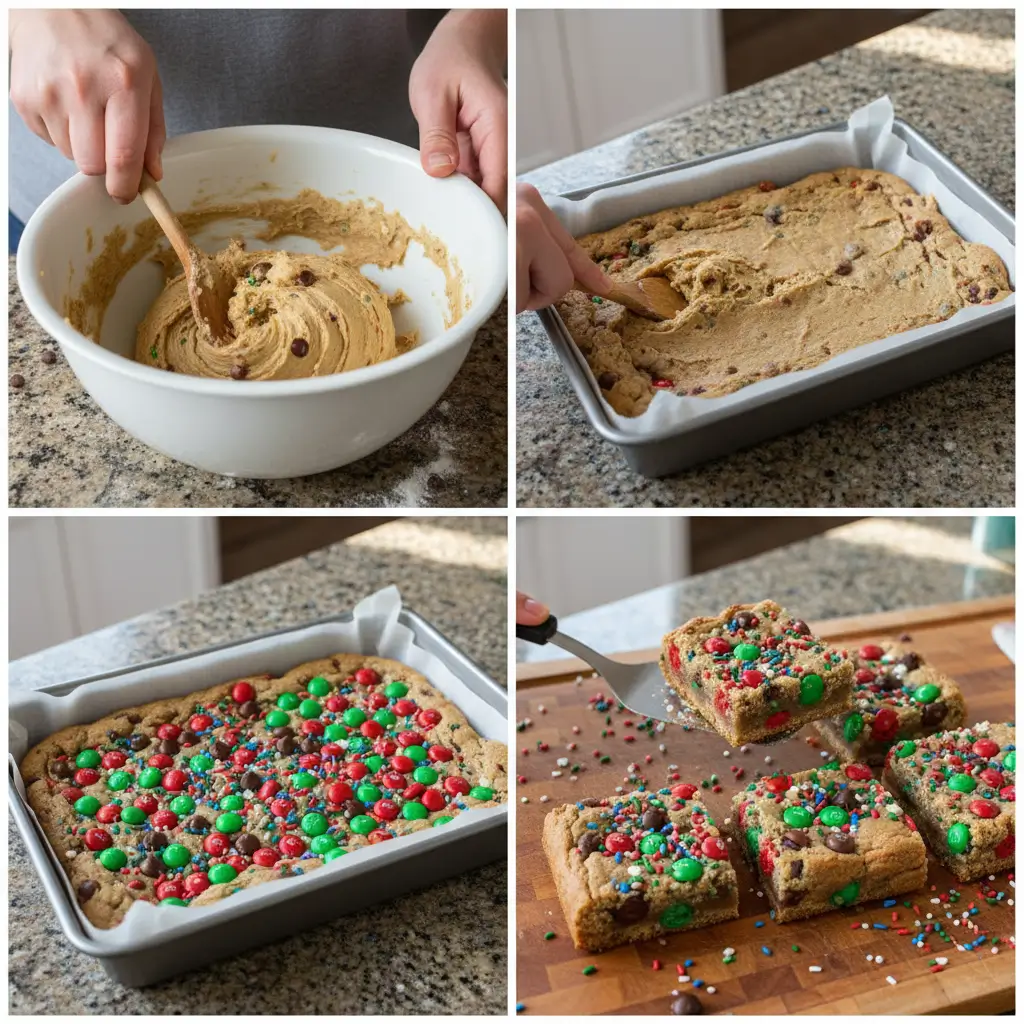
Step 1: Preheat your oven to 350°F. Line a 9×13 metal baking pan with parchment paper. I spray the pan first, then press the parchment in so it sticks. Makes cleanup so much easier.
Step 2: Melt your butter. I just microwave it for like 45 seconds. No fancy double boiler needed here.
Step 3: In a large bowl, whisk together the melted butter, brown sugar, and white sugar until it’s smooth and combined. This takes maybe a minute with a whisk. You don’t need a mixer for this—elbow grease works fine.
Step 4: Add your egg, extra yolk, and vanilla. Whisk again until everything is smooth and glossy. It should look kind of like caramel sauce at this point. If it doesn’t, keep whisking.
Step 5: Sprinkle the baking soda, baking powder, and salt over the wet mixture. Stir them in.
Step 6: Add the flour all at once. Now switch to a spatula or wooden spoon because this gets thick. Mix until you don’t see any white flour streaks. Don’t overmix or your bars will be tough. Just mix until combined.
Step 7: Fold in about 3/4 of your chocolate chips and 3/4 of your M&Ms. Save some for topping because that’s what makes them look festive and Instagram-worthy.
Step 8: Dump the dough into your prepared pan. This part is kind of annoying because the dough is THICK and doesn’t want to spread. I usually just use my hands (or a spatula if I’m feeling civilized) and press it evenly into the pan. It takes a minute but it’s worth it.
Step 9: Press the remaining M&Ms, chocolate chips, and all the sprinkles on top. Go heavy on this. More is more when it comes to decorating these chocolate chip christmas bars.
Step 10: Bake for 22-26 minutes. They’re done when the edges are set and golden brown but the center still looks slightly underdone. Like, it should jiggle just a tiny bit when you shake the pan.
Step 11: Let them cool COMPLETELY in the pan before cutting. I know this is hard. The smell is incredible and you want to dig in immediately. But if you cut them warm, they’ll fall apart into a crumbly mess. Ask me how I know.
I usually bake these at night and let them sit on the counter overnight. By morning they’re perfect for cutting.
My Cookie Bar Disasters (So You Don’t Repeat Them)
Attempt #1: Glass pan. Bottom burned, top raw, middle weird. Metal pans only, people.
Attempt #2: Overbaked them because I was scared of underbaking. They were crunchy like biscotti. Cookie bars should be chewy, not crunchy.
Attempt #3: Forgot the extra egg yolk because I thought “eh, close enough.” They came out cakey instead of chewy. That extra yolk matters.
Attempt #4: Used margarine instead of butter because that’s what I had. They tasted… off. Like artificial. Just use real butter.
Attempt #5: Cut them while they were still warm because I have zero patience. They crumbled everywhere and looked terrible on the cookie platter. Cool them completely. Seriously.
Tips for Perfect Festive Christmas Treats for Parties
Size matters. I cut mine into 24 squares (4×6 grid). You can cut them bigger if you want, but these are rich and a smaller size is actually perfect.
Make ahead magic. These are fantastic make ahead christmas desserts. Bake them, let them cool, cut them, and store in an airtight container for up to 5 days. They actually get better after a day or two.
Freeze them. Yes! You can freeze these for up to 3 months. I wrap them individually in plastic wrap, toss them in a freezer bag, and pull them out as needed. They thaw in like 30 minutes on the counter.
Customize the candy. Don’t have M&Ms? Use whatever you’ve got. Reese’s Pieces work great. So do chopped up candy canes if you want that peppermint vibe. I’ve even thrown in some white chocolate chips and dried cranberries for a fancier version.
Double the recipe. If you’re making these for christmas cookie swap ideas, just double everything and use two pans. They go FAST at exchanges.
Why These Christmas Cookie Bars for Gift Giving Actually Work
These are perfect for gifting because they’re sturdy. Unlike regular cookies that crumble in transit, these bars hold up really well. I usually put 4-6 bars in a clear cellophane bag, tie it with a ribbon, and boom—instant gift.
My mail carrier got a bag last year and now asks me in November when I’m making them again. That’s how you know they’re good.
And honestly? They look fancy but they’re so easy that I feel like I’m getting away with something. People see those festive M&Ms and sprinkles and assume I spent hours on them. Nope. 30 minutes max, including cleanup.
Just Make Them Already
Seriously, if you’re drowning in holiday baking commitments, make these christmas party desserts easy bars. They’re crowd-pleasers, kid-approved, and save you so much time compared to individual cookies.
My kids fight over them. My husband’s coworkers request them. My book club friends ask for the recipe every single year (and I keep forgetting to write it down for them, hence this blog post).
Make them for your cookie exchange. Make them for your office party. Make them just because it’s December and you deserve something sweet. Whatever the reason, just make them.
Let me know how yours turn out! And if you burn the bottom in a glass pan, don’t say I didn’t warn you 😉
[Recipe_Card]