Okay, so here’s the thing. I’ve been making pumpkin muffins for like three years now, and I’ve messed them up more times than I care to admit. First batch? Dry as cardboard. Second batch? Somehow raw in the middle but burnt on top. Don’t ask me how that’s even possible.
But this recipe? This one finally works. And I’m gonna share it because everyone keeps bugging me for it.
Table of Contents
Why These Pumpkin Muffins Actually Work
Look, I’m gonna be honest with you. Most pumpkin muffin recipes online are just… wrong. They either have way too much spice (my kitchen smelled like a candle store for three days), or they’re so healthy they taste like paper. No offense to healthy baking, but sometimes you just want a muffin that doesn’t taste like punishment.
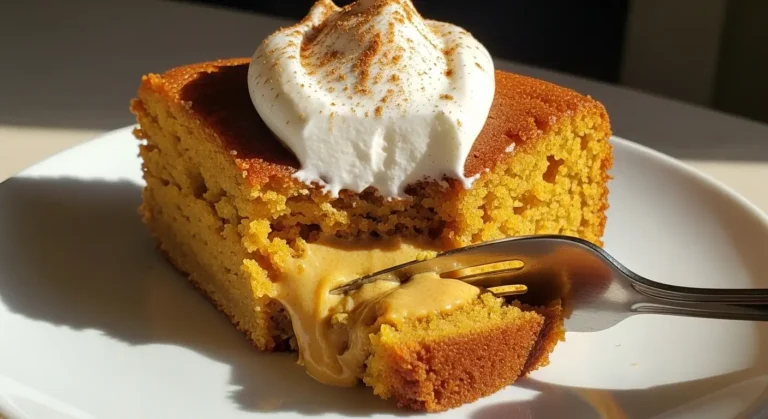
These easy pumpkin muffins hit that sweet spot. They’re moist—like actually moist, not “Pinterest recipe moist” where you need a glass of milk to choke them down. They’ve got the right amount of pumpkin spice without making you feel like you’re eating potpourri. And bonus: my neighbor’s kid who “doesn’t like pumpkin” ate three of them. So there’s that.
Last October, I tried making these for a bake sale at my daughter’s school. Set the timer for 20 minutes, then completely forgot because I got sucked into a phone call with my mom. Came back to the kitchen at like 35 minutes, convinced I’d ruined everything. But nope! They were just… fine. A little darker on top, but still soft inside. That’s when I knew this recipe was a keeper.
What You Need for the Best Pumpkin Muffins
Now, I’m obsessed with keeping things simple. Don’t buy pre-shredded anything or those weird specialty ingredients you’ll use once and then find expired in your pantry two years later.
Here’s what you actually need:
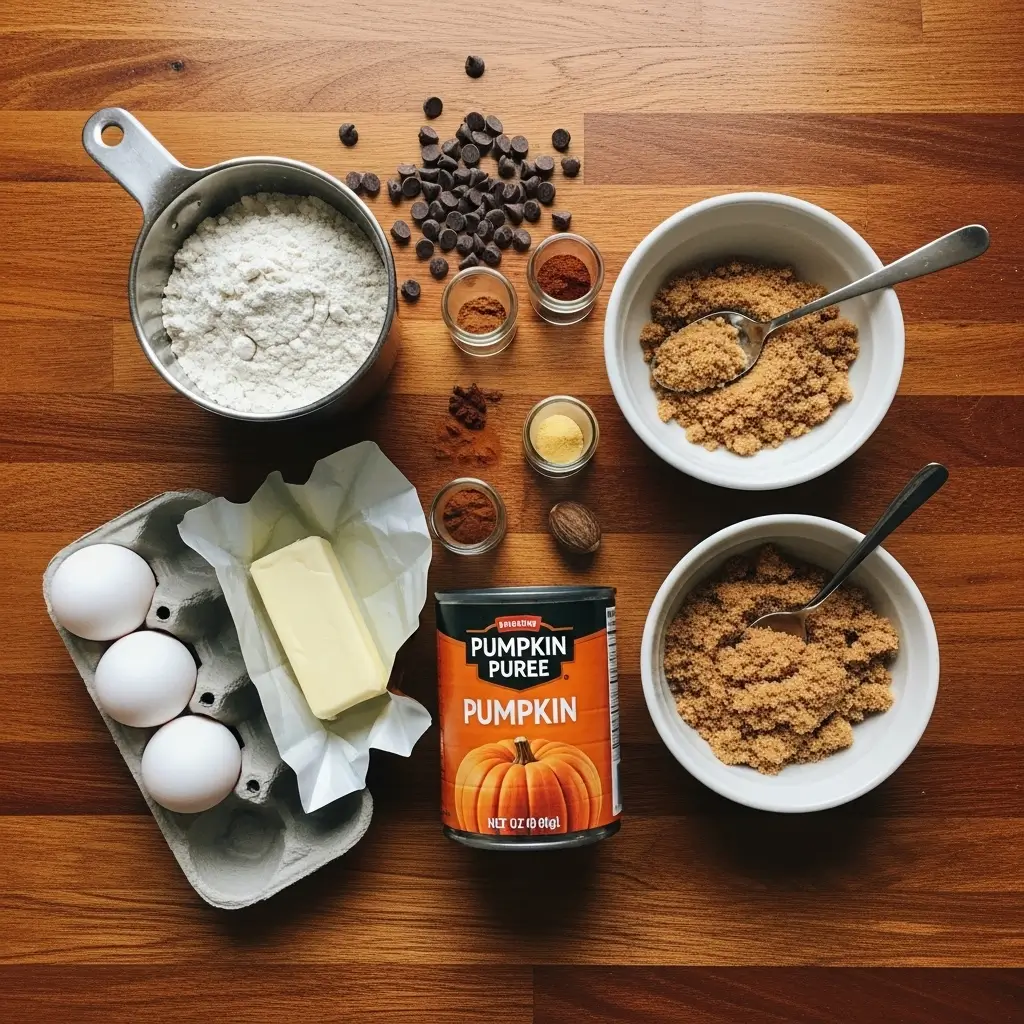
Dry stuff:
- 1¾ cups all-purpose flour (just scoop and level, don’t get fancy)
- 1 teaspoon baking soda
- 2 teaspoons pumpkin pie spice (or make your own if you’re feeling ambitious)
- 1 teaspoon cinnamon
- ½ teaspoon salt
Wet stuff:
- 1 can (15 oz) pumpkin puree (NOT pumpkin pie filling—learned that one the hard way)
- ½ cup melted butter (I use salted because that’s what I always have)
- ¾ cup brown sugar
- ½ cup regular sugar
- 2 eggs
- ¼ cup milk (any kind works, I’ve used oat milk, whole milk, even coffee creamer once when I was desperate)
- 1 teaspoon vanilla extract
Optional stuff that makes people think you’re fancy:
- Chocolate chips (my kids demand these)
- Chopped pecans (if you want to feel like a real baker)
- A sprinkle of cinnamon sugar on top before baking
Shopping tip: Good luck finding decent canned pumpkin after November. I stock up in October now because last year I had to drive to three different stores in January just to find one can hidden behind some crushed tomatoes. Ridiculous.
How to Make These Pumpkin Muffins (Without Crying)
Preheat your oven to 375°F. Or you know what, start heating it whenever you remember. I usually turn it on halfway through mixing because I always forget.
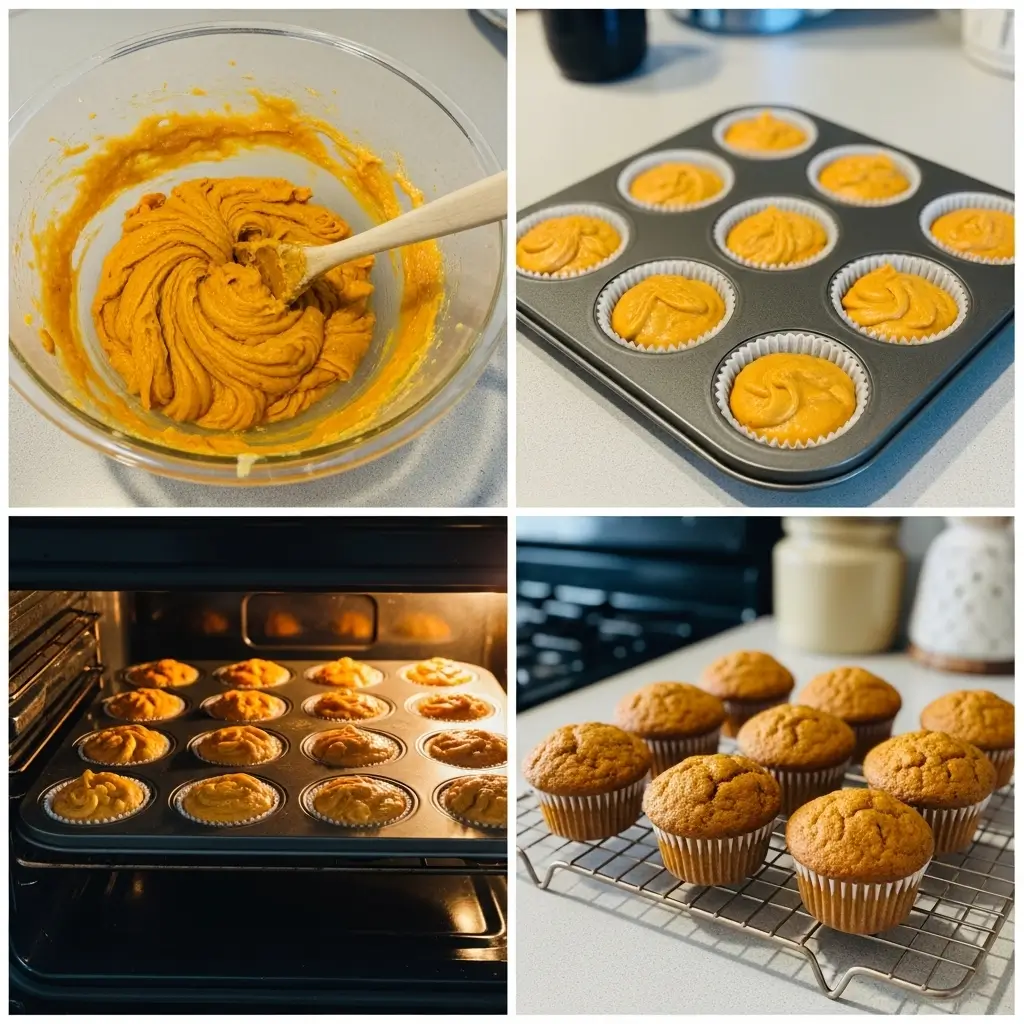
Step 1: Mix the dry ingredients
Grab a medium bowl and whisk together your flour, baking soda, pumpkin pie spice, cinnamon, and salt. That’s it. Set it aside.
(Don’t skip the whisking. I tried just stirring once and ended up with a bite of pure cinnamon. Not fun.)
Step 2: Mix the wet ingredients
In a big bowl—and I mean BIG because this batter likes to splash—combine your melted butter, brown sugar, and regular sugar. Mix it until it looks… mixed. I use a wooden spoon for this because whisks are annoying to clean.
Add your pumpkin puree, eggs, milk, and vanilla. Stir it all together until it’s smooth and orange and kind of pretty actually.
Step 3: The crucial part (don’t mess this up)
Pour your dry ingredients into your wet ingredients. Now listen carefully: mix it GENTLY. Just until you don’t see flour anymore. Like 20-30 stirs max.
If you overmix these pumpkin muffins, they’ll turn into hockey pucks. Trust me on this one. My first batch could’ve been used as doorstops. The batter should look a little lumpy and that’s totally fine. Normal, even.
Step 4: Add the good stuff
This is where you can fold in chocolate chips, nuts, or whatever makes you happy. I usually add about a cup of mini chocolate chips because regular-sized ones are too much. (Is that just me? Am I weird about chocolate chip size?)
Step 5: Get them in the pan
Line a muffin tin with papers or spray it really well. I prefer papers because I’m lazy and don’t want to scrub a pan later.
Fill each cup about ¾ full. I use an ice cream scoop for this and it works perfectly. If you overfill them, they’ll turn into weird mushroom shapes. Still taste good though.
Step 6: Bake these babies
Pop them in the oven for 18-22 minutes. Start checking at 18 minutes with a toothpick. It should come out clean or with just a few crumbs. If it’s covered in wet batter, give it a few more minutes.
My oven runs hot, so mine are usually done at 19 minutes. Your oven might be different. Ovens are weird like that.
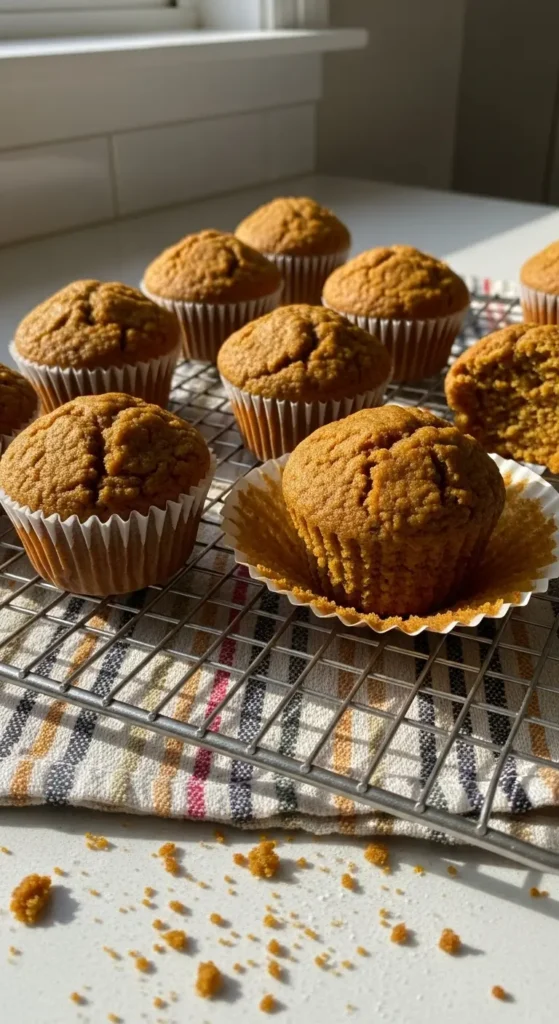
Let them cool in the pan for about 5 minutes (set a timer or you’ll forget and try to grab them and burn your fingers—speaking from experience here). Then move them to a cooling rack.
Tips From Someone Who’s Made Every Mistake
On pumpkin puree: Make sure you’re using pure pumpkin, not pumpkin pie filling. I grabbed the wrong can once and these muffins turned out weirdly sweet and kind of… gloopy? Is that a word? Well, it is now.
On brown sugar: Pack it into the measuring cup. Like really smush it down. If you’re gentle with it, your pumpkin muffins won’t be sweet enough and you’ll be sad.
On eggs: Room temperature eggs mix better. But honestly? I’ve used cold eggs straight from the fridge and they were fine. Life’s too short to wait for eggs to warm up.
On the butter: Let it cool for a few minutes after melting or it’ll scramble your eggs. Found that out the gross way. If you do accidentally scramble them, just start over. It’s not worth trying to salvage.
On storage: These stay moist for like a week in an airtight container. Just on the counter, no need for the fridge. Actually, don’t put them in the fridge—they get weird and dry. If you want them to last longer, freeze them. They defrost perfectly.
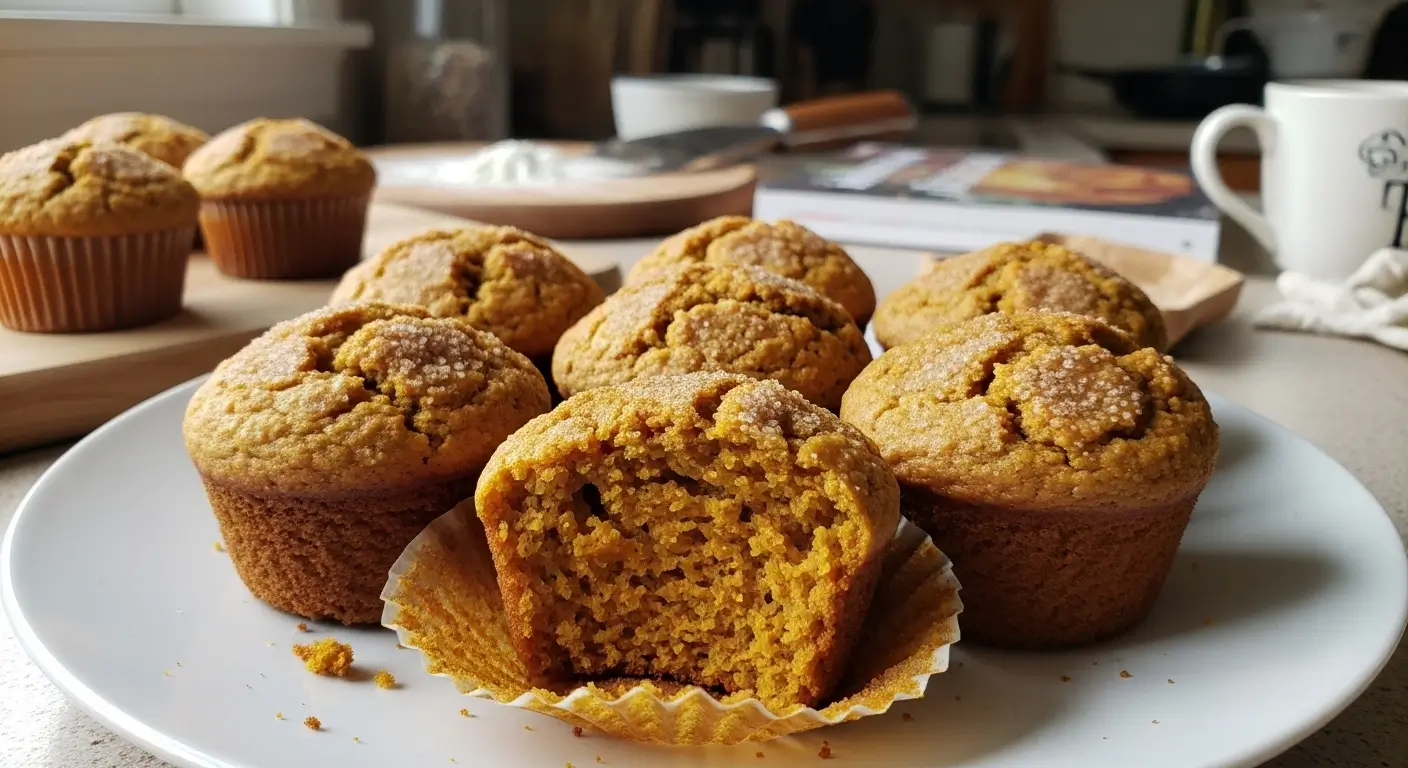
What Makes These the Best Pumpkin Muffins
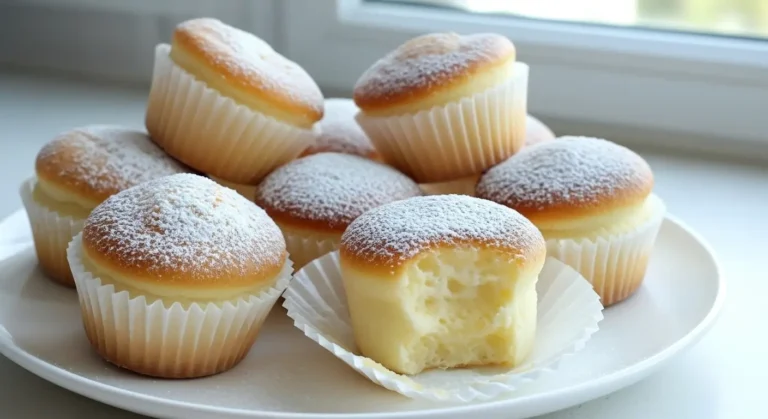
The texture. That’s what does it. These homemade pumpkin muffins are soft and fluffy but also somehow substantial? They don’t fall apart when you bite into them. The tops get this nice little dome and sometimes they crack a bit, which makes them look bakery-style fancy even though they’re dead simple.
And the flavor is spot-on fall vibes without being overwhelming. Some pumpkin spice muffins taste like you’re eating a scented candle. These just taste like… good muffins that happen to have pumpkin in them.
My mom says they remind her of the moist pumpkin muffins from that coffee shop that closed down in 2019. Which is apparently the highest compliment she can give.
Serving Suggestions (From Real Life)
Warm with butter melted on top? Chef’s kiss. With your morning coffee? Perfect. As an afternoon snack when you’re stress-eating because work is terrible? They’ve got you covered.
My husband likes to split them and toast them in the oven for a few minutes. I thought he was crazy at first, but it’s actually really good. The edges get slightly crispy and the inside stays soft.
Kids seem to prefer them with chocolate chips, obviously. Adults pretend they want the plain ones but then eat the chocolate chip ones when no one’s looking. I see you, Mark.
The Verdict on This Pumpkin Muffin Recipe
If I can make these without destroying my kitchen (which happens more often than I’d like to admit), anyone can. They’re genuinely easy pumpkin muffins—like actually easy, not “easy if you went to culinary school” easy.
They work for breakfast, snacks, dessert, or “I need to bring something to that thing tomorrow and completely forgot until now” situations. Been there, done that, saved by these muffins.
Seriously, try this recipe and let me know how yours turn out! And if you burn the first batch, don’t worry about it. We’ve all been there. Just make another batch and don’t answer the door this time when the neighbors knock.
Happy baking! (And may your smoke alarms stay quiet.)
[Recipe_Card]